As an Amazon Associate, we earn from qualifying purchases. Some links on this site are affiliate links at no extra cost to you. Our recommendations are based on thorough research and editorial judgment.
Common Under-Cabinet LED Installation Mistakes
Common mistakes in under-cabinet LED installation can hinder effectiveness and safety. Guarantee precise measurements within a quarter inch. Install lights 1-2 inches above countertops to minimize glare. Choose the correct color temperature, ideally between 2700K and 3000K, for a warm environment. Avoid mounting lights too far back, which creates shadows. Verify wiring connections to prevent flickering. Finally, guarantee proper ventilation for power supplies. Understanding these aspects leads to a successful lighting setup. Explore more insights to optimize installation.
Key Takeaways
- Failing to take accurate measurements can lead to improper fit and lighting coverage under cabinets.
- Installing lights too far back causes shadows on countertops, affecting visibility.
- Incorrect diffuser types may result in uneven lighting and glare, negating optimal performance.
- Neglecting airflow around lights can lead to overheating and reduced lifespan of the fixtures.
- Inadequate attention to wiring connections can cause flickering lights and potential safety hazards.
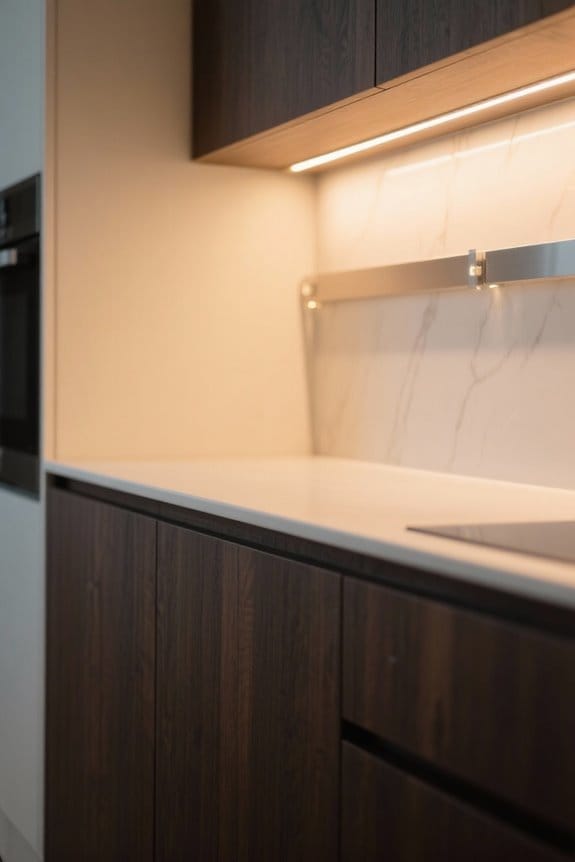
Understanding Under-Cabinet LED Lighting
You may be interested
When homeowners consider enhancing their kitchens, understanding under-cabinet LED lighting becomes essential. This energy-efficient lighting option reduces power consumption considerably compared to traditional incandescent bulbs. LED strips or puck lights can be used, catering to varying lighting needs effectively. Proper installation of these fixtures enhances visibility for tasks, illuminating workspaces and reducing accident risks. A well-planned under-cabinet lighting system provides even lighting, which eliminates shadows and improves functionality. For best results, install LEDs at least 2 inches from the wall to avoid glare and direct light onto countertops. Matching light color temperature with kitchen design—typically between 2700K and 3000K—can create an inviting atmosphere. Avoid common mistakes like improper placement and mismatched brightness, ensuring thoughtful installation for maximum effect. Quality LED strips should provide 300 lumens per foot for optimal task lighting performance.
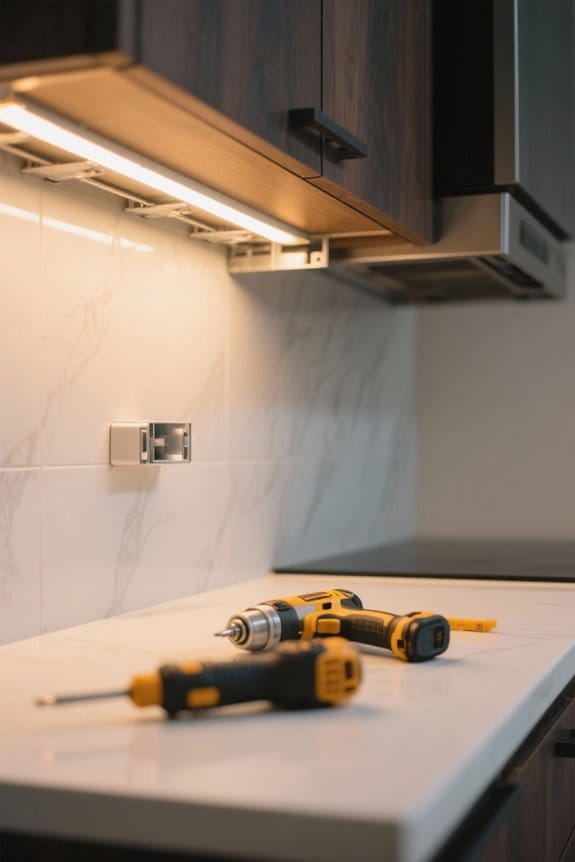
Common Installation Misjudgments
Effective installation of under-cabinet LED lighting requires meticulous attention to detail, as numerous common misjudgments can compromise the overall illumination quality. One frequent error is incorrectly measuring cabinet lengths, potentially resulting in insufficient or excess LED strip lights. Confirm measurements are precise within a quarter inch. Additionally, neglecting heat dissipation may cause LEDs to overheat, shortening their lifespan; maintain at least two inches of airflow around lights. Improper placement leads to glare or dark spots, with ideal positioning about one to two inches above countertops. The wrong diffuser type can create uneven lighting and hotspots, diminishing aesthetics. Always verify secure wiring connections to avoid flickering, and check that lights are not poorly mounted to guarantee a stable installation. Selecting a 4500K daylight white temperature setting ensures optimal visibility for kitchen tasks and food preparation.
Inadequate Planning for Dimming Options
How can one guarantee a superior dimming experience for under-cabinet LED lighting? Inadequate planning for dimming options can compromise the effectiveness of LED lighting. Choose a dimmer switch compatible with the specific type of LED lighting being installed to prevent flickering; some require trailing-edge or leading-edge technology. Ascertain that the dimmer is rated for at least 60% of the total wattage to maintain peak performance and avoid overheating. For larger installations, consider multiple dimmers or a smart dimming system for enhanced lighting control. This approach allows for adjustable ambiance throughout the space, maximizing functionality. Proper planning will enhance both the aesthetic and practical benefits of your under-cabinet LED installation. Modern LED systems like the Ansen Hardwired offer impressive dimming range capabilities from 100% to 5% brightness for optimal task lighting control.
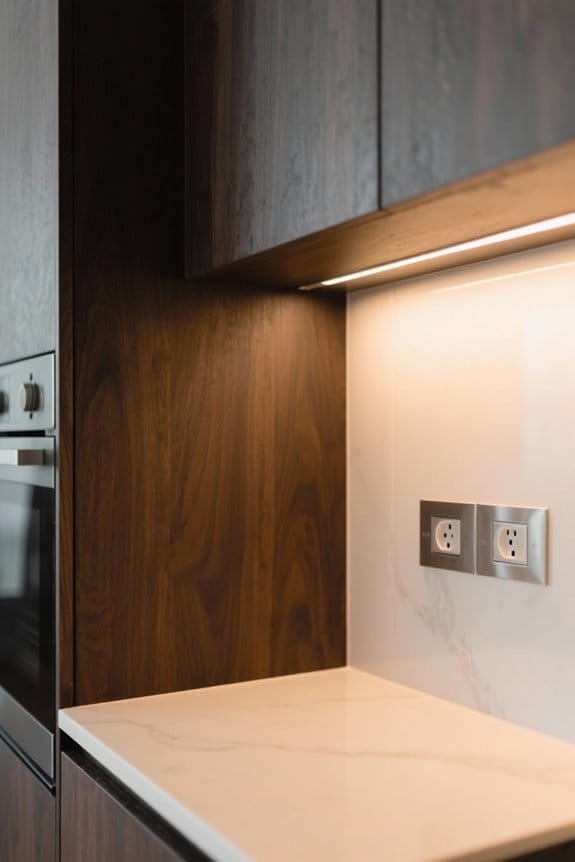
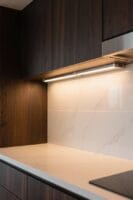
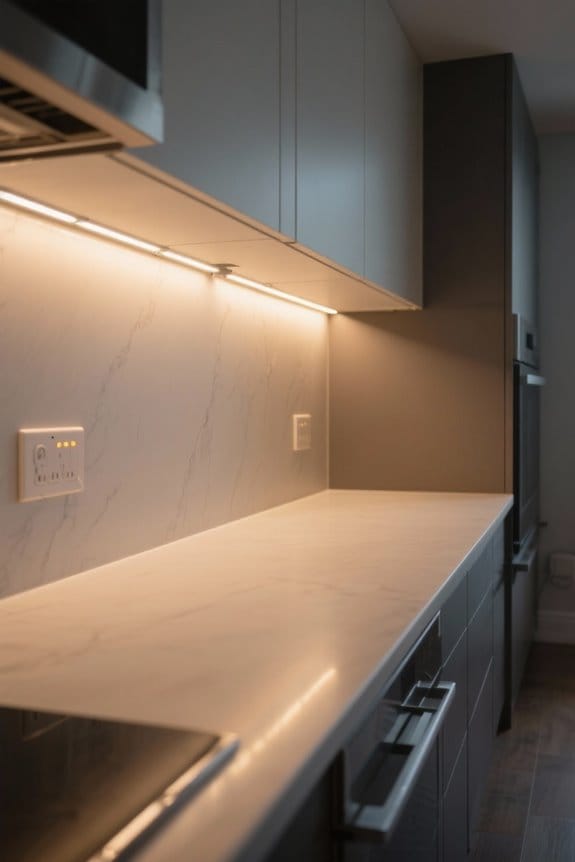
Placement Errors That Cause Glare or Shadows
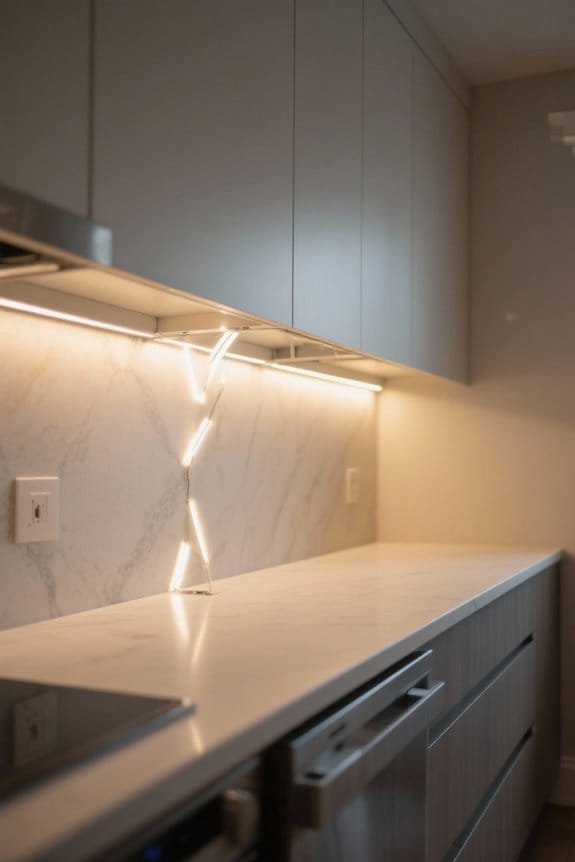
Placement of under-cabinet LED lights requires careful consideration to avoid issues such as glare and shadows. Installing lights too far back can produce significant shadows on countertops, impairing visibility. To prevent glare, avoid mounting LED strips directly at the back edge; this positioning often leads to harsh light that causes discomfort. Maintain a minimum distance of 1-2 inches from the front lip of cabinets to guarantee even light distribution and mitigate dark spots. Additionally, don’t install light bars too high above the countertop; this decreases effective spread and can leave areas inadequately illuminated. Finally, remember to test various placements before final installation to identify any unexpected glare and shadows that may disrupt both functionality and aesthetics of your lighting setup. For optimal task lighting, consider installing daylight white LEDs that provide 6000K color temperature for enhanced visibility in your workspace.
Recommended Products

Stainless Steel Material: The range hood handcrafted with SUS 304 stainless steel and exquisite craftsmanship, guaranteeing the stability and durability. It is handmade by the professional craftsman, and it is durable enough to provide you with a reliable long-term usage experience

[Colors Changeable & Brightness Dimmable] You can easily switch between color temperatures like 3000K for warm light, 4000K for neutral light, and 6000K for white light, adapting to various conditions. You can also adjust the brightness to your comfort level.

UPGRADED MODERN STORAGE CABINET: The Front & Backlit lighted function and hidden storage cabinet designed to masterfully enhance functionality within your space, putting convenience right in front of you. Suit for the bathrooms, bedrooms, powder rooms, etc
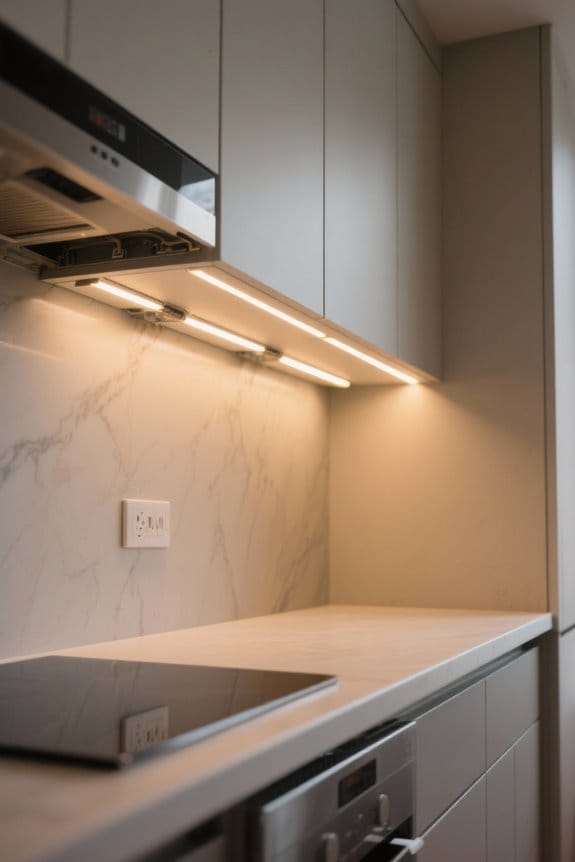
Power Supply Overlooked Considerations
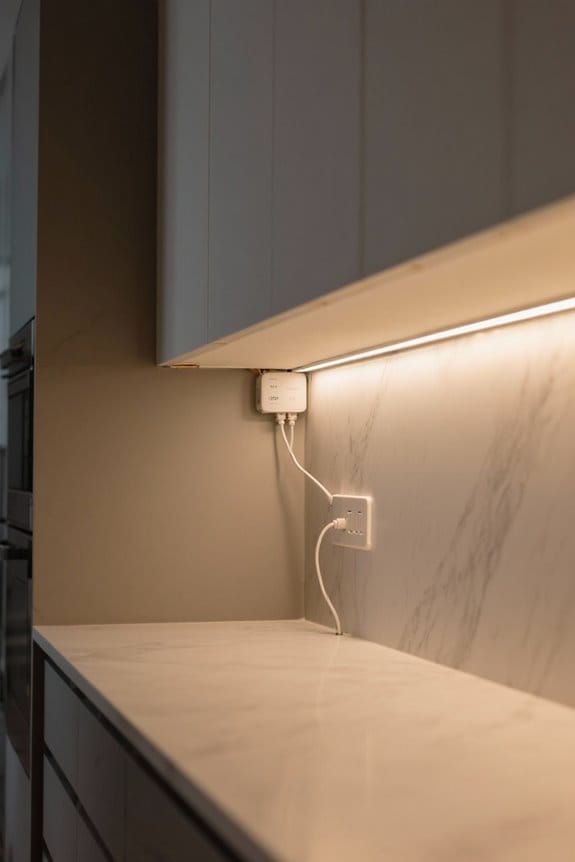
While planning the installation of under-cabinet LED lighting, it is essential to contemplate the power supply, as it plays a pivotal role in the system’s overall performance. Selecting a compatible power supply with the correct wattage is critical; ideally, size it to handle 60% to 80% of its maximum capacity. This strategy helps prevent overheating. A minimum 3-inch air gap around the power supply guarantees adequate ventilation and safety. Assess existing electrical circuits for sufficient load capacity to avoid flickering lights. It’s important to keep the power supply grounded and isolated from other electrical loads. This practice assures stability in your LED wiring and enhances overall performance during the installation process. Consult with experts for proper sizing assurances. Energy-efficient LED solutions can significantly reduce power consumption while maintaining optimal illumination for your display needs.
Recommended Products

COMPLETE INDEPENDENCE PACKAGE: Includes premium rear lockable storage pod, cup holder, quality phone holder, and USB-C phone charger so your essentials stay secure, powered, and within reach wherever you go.

Built-in capable: Make the best use of space by installing your freezer under the counter and flush with other cabinets
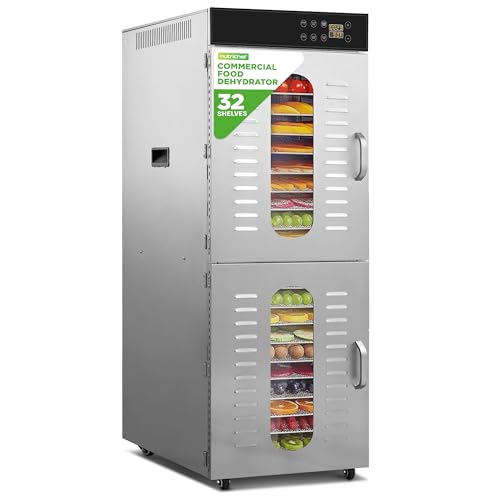
SPACIOUS 32-LAYER DRYING - With a generous 32-layered food dehydrator machine measuring 15.7" x 14.9", our dehydrator provides an expansive drying space, perfect for jerky, meat, fruit, vegetables, and more.
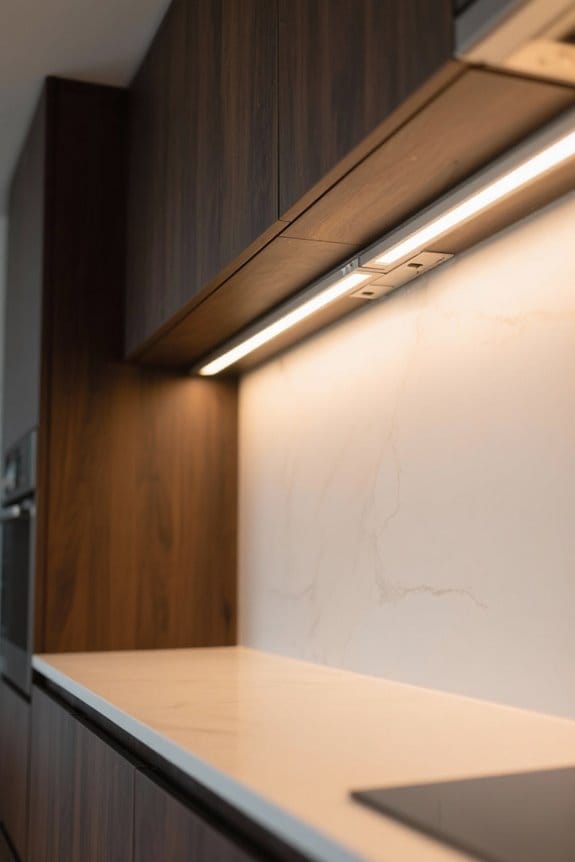
Neglecting Heat Dissipation Needs
Effective heat management is vital in the installation of under-cabinet LED lighting systems. LED strips generate heat during operation, leading to potential overheating when not properly managed. Utilize adequately sized LED channels to improve airflow, which is essential for effective heat dissipation. Tight spaces without ventilation greatly increase the risk of thermal damage, shortening LED lifespans. For peak performance, consider channels that provide additional surface area for heat transfer. Inspect and maintain these components regularly to guarantee they function effectively, helping to mitigate overheating risks. Look for signs of heat-related issues, and address them promptly. Remember, proper heat management not only enhances efficiency but also extends the life of your LED systems considerably. Anodized aluminum channels offer superior heat dissipation properties while protecting against moisture and dust accumulation.
Choosing the Wrong Color Temperature
Color temperature plays an essential role in the aesthetic and functional quality of under-cabinet lighting. Choosing the wrong color temperature can disrupt the kitchen’s harmony. Warm white lighting, generally around 3000K, creates a cozy, inviting atmosphere. In contrast, cool white options spanning 4000K to 6000K may clash with existing fixtures, leading to visual discordance. It is vital to maintain consistent color temperature throughout the kitchen to enhance design coherence. Testing various color temperatures before finalizing the installation can aid in determining the best balance for both functionality and aesthetics. An ideal selection will guarantee that the overall aesthetic is appealing while providing adequate illumination for tasks. Careful consideration will make a significant difference in the space’s ambiance. Modern LED systems featuring smooth dimming capabilities from 100% down to 5% allow users to fine-tune their lighting for different times of day and activities.
Recommended Products

Invisiled Pro 1Ft indicator marks every 2 inch for field cutting at the end of a run

Gemini LED tape light output is 3W per foot with easy-to-setup seamless and scalable run lengths up to 24 feet.

CONTEMPORARY DESIGN: Whether you’re remodeling your entire kitchen or just upgrading appliances, this sleek black stainless-steel heavy-duty hood vents for kitchen with its convenient digital screen and baffle filters will fit in perfectly and stand the test of time.
Over-illumination vs. Insufficient Brightness
Balancing the brightness of under-cabinet lighting is essential for both safety and functionality in a kitchen environment. Over-illumination can lead to eye strain, while insufficient brightness compromises visibility, potentially causing accidents. Aim for task lighting between 300-500 lux to guarantee sufficient illumination, particularly in areas like chopping or measuring. For effective visibility, target a minimum of 200 lumens per foot. Consider installing dimmer switches; they allow users to adjust brightness according to specific tasks or time of day, enhancing comfort. Regularly assess lighting performance; inadequate areas may benefit from additional fixtures or focused lighting solutions. Striking the right balance between over-illumination and insufficient brightness guarantees a safe and efficient workspace. Products like the ASOKO Dimmable LED fixtures deliver up to 1299 lumens with adjustable brightness settings to help achieve optimal illumination levels.
Failing to Conceal Exposed Wiring
Concealing exposed wiring is a critical step in any under-cabinet lighting installation; neglecting this aspect can lead to both visual and safety concerns. Exposed wiring not only diminishes aesthetic appeal but also creates safety hazards, increasing the risk of electrical shorts. To comply with local electrical codes, securely cover all wiring connections. Use wire management solutions like conduit or cable covers, which protect the wires and enhance the installation’s appearance. Regular inspections of concealed wiring are essential. Watch for signs of wear or damage; these issues should be addressed immediately to avoid potential hazards. Properly managed wiring guarantees efficient lighting and reduces the likelihood of costly corrections later, maintaining both safety and functionality in your lighting system. Anodized aluminum channels provide superior moisture resistance while effectively concealing and protecting LED strip wiring.
Frequently Asked Questions
What Is the Common Problem With LED Lights?
Common problems with LED lights include shortened lifespans due to heat generation, diminished energy efficiency from poor installation methods, mismatched color temperatures affecting aesthetics, and incompatibility with dimming options or fixtures leading to inadequate performance.
Why Do My LED Strips Keep Falling Off?
LED strips may fall off due to inadequate surface preparation, like painting a canvas with dust. Adhesive quality, temperature control, humidity effects, installation angle, strip length, and product compatibility all impact their bond strength and longevity.
How to Troubleshoot Under Cabinet Lighting?
To troubleshoot under-cabinet lighting, one should check installation techniques, adhere to wiring guidelines, verify dimmer compatibility, assess power supply issues, adjust light positioning, consider fixture types, and evaluate energy efficiency for peak performance.
What Are the Chances of LED Lights Catching Fire?
The chances of LED lights catching fire are minimal. Fire safety is enhanced through effective heat dissipation, proper installation, and voltage control. Additionally, material flammability and electrical components contribute to extending LED lifespan without significant risks.