As an Amazon Associate, we earn from qualifying purchases. Some links on this site are affiliate links at no extra cost to you. Our recommendations are based on thorough research and editorial judgment.

How to Measure Your Cabinets for LED Lighting

To measure cabinets for LED lighting, start with width and depth; measure the cabinet’s width and depth accurately, noting any obstructions. Next, assess the height from the countertop to the cabinet’s underside, ensuring proper clearance for light dispersion. Account for power supply space, allowing at least 3 inches for ventilation. Adjust measurements for LED strips by subtracting space for connectors and adding about 10% for flexibility. These steps provide essential insights for optimized lighting placement. Continue to learn effective installation techniques.
Key Takeaways
- Use a measuring tape to accurately measure the width, depth, and height of cabinets, accounting for moldings and obstacles.
- Mark light placement locations on the cabinets with a pencil, ensuring ideal mounting height is 1-2 inches from the cabinet edge.
- Allocate space for the power supply, allowing at least 3 inches for ventilation and confirming compatibility with LED strip specifications.
- Subtract space for wiring and connectors from the total cabinet length when measuring for LED strips, and add an extra 10% for adjustments.
- Take multiple measurements to ensure accuracy and account for any design inconsistencies or obstacles that could affect light placement.
Tools Needed for Measuring
You may be interested
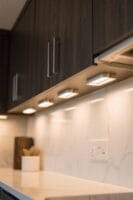
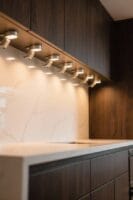
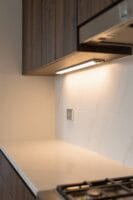
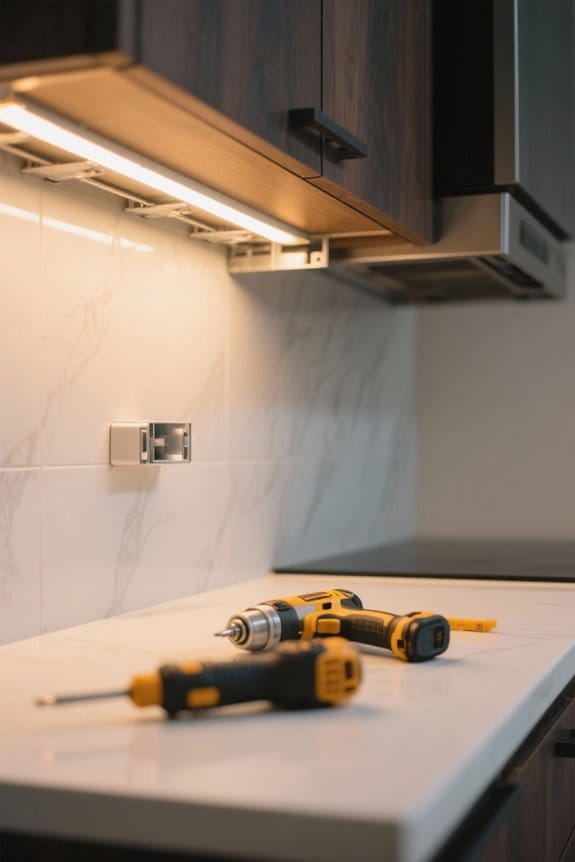
When measuring cabinets for LED lighting installation, having the right tools is essential for achieving accurate results. A measuring tape allows for precise gauging of the length of each cabinet section. Use a level to guarantee mounting brackets or strips are straight, preventing uneven lighting. A pencil is useful for marking locations on the cabinets where lights will be placed, which enhances accuracy during the installation process. Additionally, a notepad or digital device is advisable for recording measurements, guaranteeing all dimensions are easily referenced without confusion. Finally, always use a voltage tester to check for any live wires before starting the installation process, assuring safety while working around electrical components in the cabinets you are modifying. Models like the JUSJUBR light bars feature simple double-sided tape installation, making careful measurements particularly important for achieving a professional-looking result.
Recommended Products
36-INCH T-GLIDE FENCE ASSEMBLY: The 36-inch T-Glide Fence & Rail are made of heavy-gauge steel for sure lockdown and reliably square cutting for years without deflection.

41-PIECE TOOL KIT for the professional with 39 Pocket Tool Backpack, canvas zipper back and clear standard safety glasses

PURE ANALOG PERFORMANCE - The definitive vinyl record listening experience for beautifully warm and natural music, transporting you into the center of the performance
Measuring Width and Depth
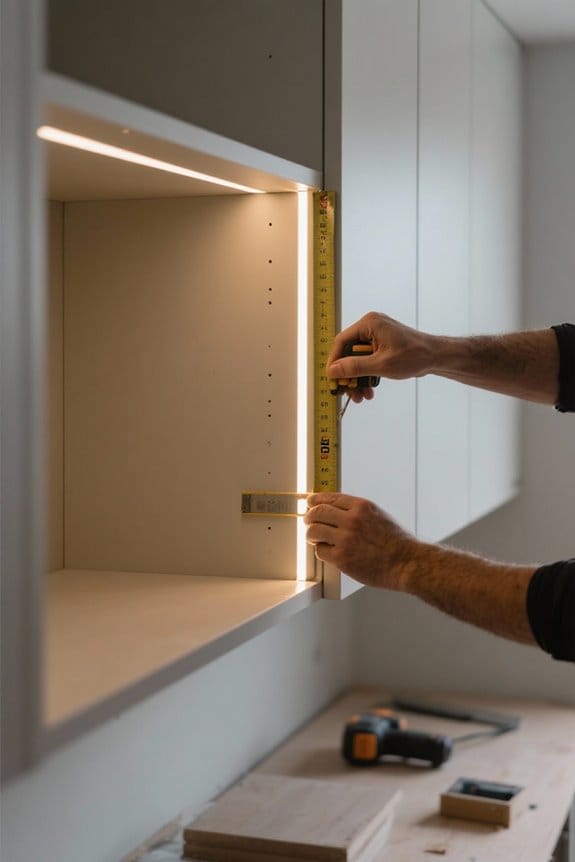
Accurate measurements are essential for determining the width and depth of cabinets intended for LED lighting installation. To measure the width of your cabinets, start from one end and extend the tape measure to the opposite end, factoring in any molding or cabinet lips. Next, measure the depth of the cabinet, which typically ranges from 12 to 24 inches, from the front edge to the back wall to guarantee a proper fit for LED light strips or fixtures. It is wise to measure multiple sections, as design inconsistencies may occur. Additionally, be cautious of obstructions when determining the available space for LED lighting. Finally, document the measurements clearly for reference when purchasing your LED lighting solutions. For optimal task lighting in work areas, choose LED strips that provide at least 300 lumens per foot to ensure adequate brightness for your space.
Recommended Products

60 CU. FT. SPACIOUS & EFFICIENT STORAGE SPACE: Commercial beverage display refrigerator offers a generous 60 Cu Ft of storage. With its ample capacity, this unit is perfect for offices, retail shops, restaurants, and supermarkets, ensuring you have all the space you need to store a variety of beverages.

Concealed Handles for Sleek Design: Our bathroom vanity features hidden handles that not only enhance the modern and minimalist look of your bathroom but also provide a seamless and clean appearance.
Dual LED Lighting & 5x Magnifying Mirror: Features front and back dual LED lighting for enhanced visibility during tasks like makeup application and shaving, complemented by a movable 5x magnifying mirror for detailed inspection.
Considering Height and Obstacles
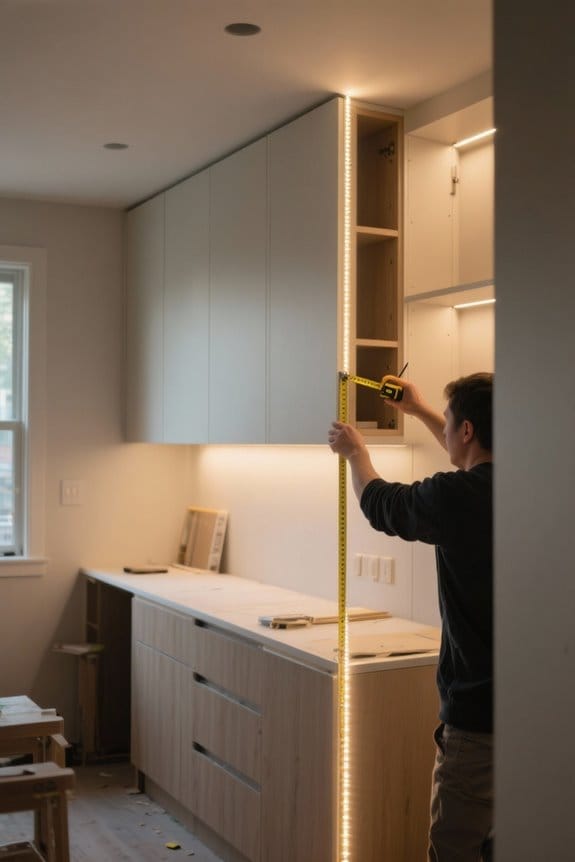
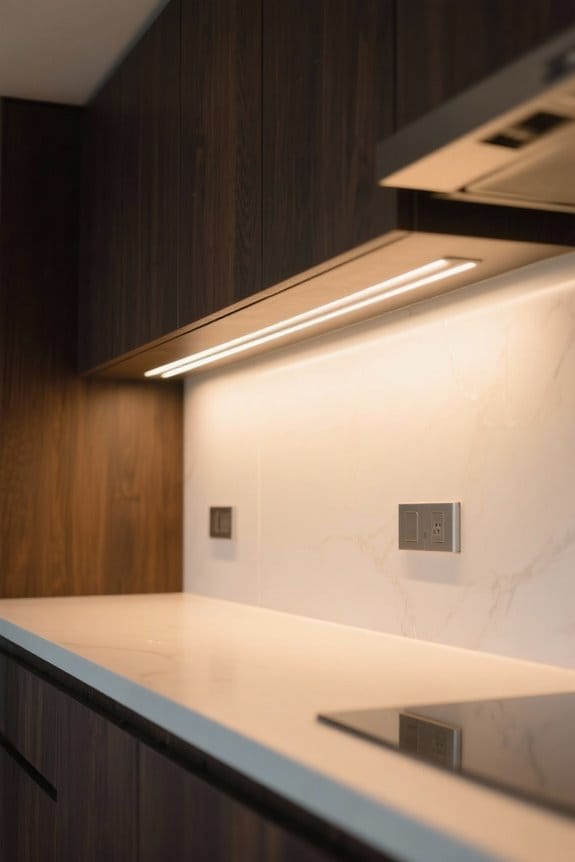
The height of cabinets plays a crucial role in determining effective LED lighting installation. To install under-cabinet LED lights, measure from the countertop to the base of the upper cabinets, aiming for a mounting height of 1-2 inches from the edge. This distance guarantees ideal light spread and reduces dark spots on surfaces below. Be mindful of potential obstructions, such as cabinet fixtures, trim work, or decorative elements that may cast shadows. Additionally, consider the thickness of the cabinet faces, as thicker designs may require adjusted positioning of light fixtures to avoid glare. Maintain adequate clearance around appliances to prevent interference when items like toasters or microwaves are opened, while allowing for proper ventilation around the power supply. For optimal task lighting, select fixtures that provide 300 to 1000 lumens of brightness to ensure sufficient illumination for your workspace.
Recommended Products

Flexible silicone cased tape light for enhanced Damp location listing. Peel and stick3 construction adhesive on back

Invisiled Pro 1Ft indicator marks every 2 inch for field cutting at the end of a run

【 Aluminum LED Channel 】: LED channel skirting is made of durable and high quality aluminum material, unlike yellowed and cracked traditional plaster line. The baseboard lighting trim is no rust, no paint peeling with long service life
Accounting for Power Supply Space
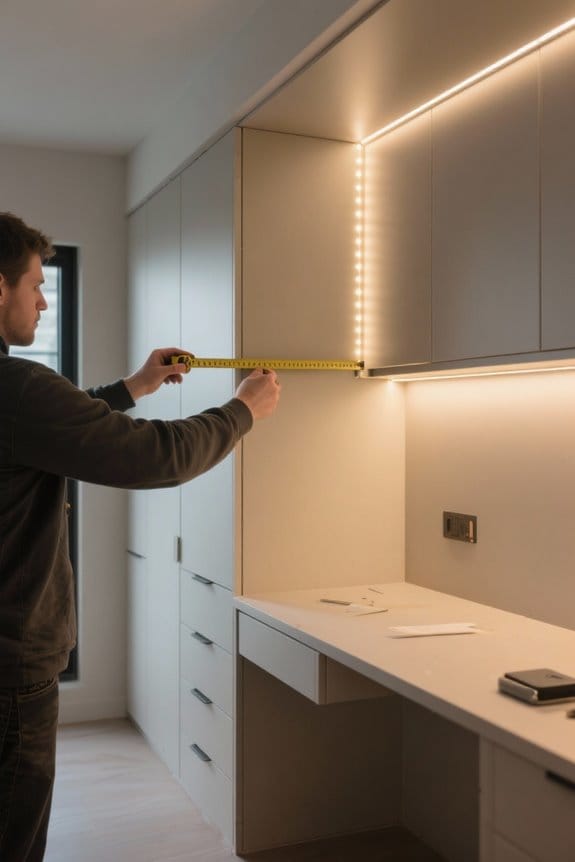
To guarantee ideal performance of LED lighting installations, careful consideration must be given to the power supply space. Allocate a minimum of 3 inches for ventilation around the power supply to prevent overheating. When measuring cabinets, identify a hidden yet accessible location for the power supply to enhance space efficiency and aesthetics. Ascertain the chosen power supply can handle the total wattage required by the LED strips, aiming for a capacity that is 60% to 80% of its maximum. Always factor in the space needed for wiring connections and any protruding elements that may obstruct access. Finally, verify that the power supply meets the installation requirements regarding compatibility with the LED strips’ wattage and voltage specifications. Modern LED strips consume 80-85% less energy than traditional lighting options, making proper power supply planning even more critical for optimal efficiency.
Recommended Products

48 UNIT MOBILE CHARGING STATION: This 120V mobile charging cart contains 48 internal NEMA 5-15R outlets to proved up to 1,440 total watts for Chromebook charging, iPad charging, other tablet charging, or laptop charging. An in-cabinet RJ45 jack connects Ethernet peripherals including routers and hotspots. 10 ft. cord allows for flexibility when accessing AC outlets.

Flush Ceiling Mount Split Insert - The insert hood unit and the blower unit are shipped in 2 packages. The blower unit is mounted in the attic and the hood unit is mounted in the ceiling. This model is designed to be installed as a flush ceiling mount split insert range hood. Constructed from stainless steel, which offers greater durability and longer-lasting performance.
Powerful Suction|750 CFM Internal Blower
Adjusting Measurements for LED Strips
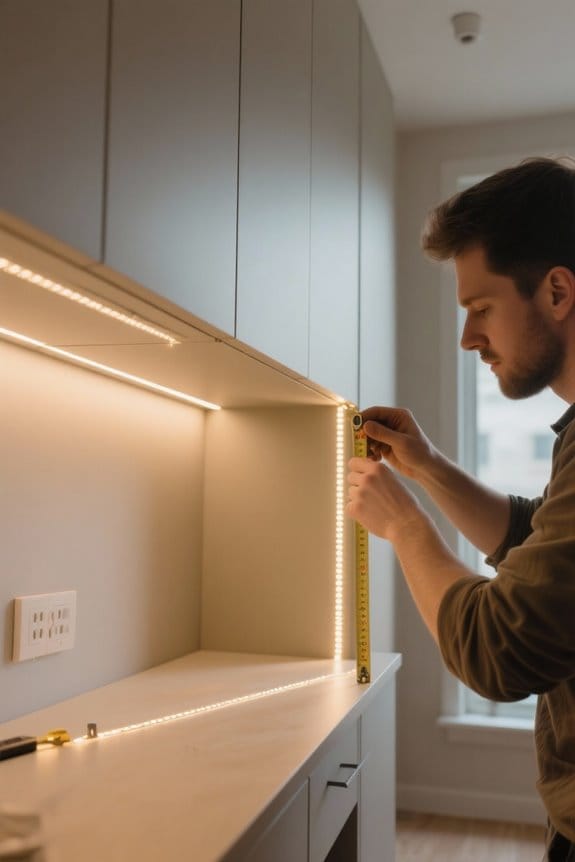
When planning for LED strip installations, careful adjustments to measurements are essential for guaranteeing a seamless fit and best illumination. Measure the cabinet’s overall length using a measuring tape, subtracting space for wiring and connectors to achieve a precise fit. It’s wise to add about 10% to your measurement for unforeseen adjustments and proper placement. Consider obstacles such as shelf supports or hardware that may interfere with ideal light coverage. Always confirm the measurements multiple times before cutting the LED strips. This diligence prevents costly mistakes and guarantees the LED strips deliver maximum brightness where needed. Remember, accurate measurements lead to successful installations that enhance your cabinet’s functionality and aesthetic appeal. Modern LED lighting kits can last up to 50,000 hours when properly installed with precise measurements.
Recommended Products
Industrial-Grade Power & Efficiency: Experience faster cleaning with our professional pressurized tank system. It delivers unwavering, high-pressure blasting to quickly strip rust, paint, and coatings, while ensuring consistent results for both small and large-scale jobs

𝗗𝗶𝗺𝗺𝗮𝗯𝗹𝗲 𝗥𝗚𝗕 𝗕𝗮𝗰𝗸𝗹𝗶𝘁+𝗙𝗿𝗼𝗻𝘁 𝗟𝗶𝗴𝗵𝘁𝗲𝗱 - ACEMIRO lighted medicine cabinet integrates fashion and fantasy with 3000k-6000k 3-color temperature adjustment + Colorful RGB backlight modes(11 multi-color selections). The backlight and front light could be stepless dimmable and adjusted from 10% to 100% brightness to match your preferences while provide sufficient light source. Give an artistic touch of luxury to your home décor.

Standard enclosure for low to medium density server and networking applications.
Finalizing Your Measurement Steps
Start finalizing measurements by meticulously recording the width, depth, and height of each cabinet section using a tape measure for precise installation of LED lighting. Document the location of power outlets, as they influence where to place the LED strips. Be vigilant about any obstructions like cabinet lips or handles that may alter the installation’s alignment and dimensions. Calculate the total length of LED strips required by summing the measurements of all sections, and factor in some margin for adjustments. Use a notepad or digital tool to keep track of each measurement and note any specific requirements, ensuring a seamless shift from planning to purchasing and installation of your LED under-cabinet lighting system. Consider selecting fixtures with adjustable color temperatures to customize the ambiance and brightness levels for different tasks and moods.
Frequently Asked Questions
How Do I Calculate How Many LED Lights Do I Need?
To calculate LED lights needed, assess brightness levels and light placement. Consider fixture types, color temperature, and energy efficiency. Utilize dimming options and follow installation tips for ideal results, ensuring adequate coverage and uniform lighting.
How to Measure Room Size for LED Lights?
To measure room size for LED lights, one must assess room dimensions, ceiling height, and wall space. Analyze lighting patterns, determine fixture placement, and consider light output and color temperature for ideal illumination throughout the space.
How to Calculate Under Cabinet Lighting?
To calculate under cabinet lighting, one must meticulously assess cabinet height, plan light placement, and determine LED brightness. Key elements include selecting a suitable power source, color temperature, lighting styles, and installation tips for ideal results.
What Size Under Cabinet Lighting Do I Need?
For ideal cabinet lighting types, sizes range between 8 to 30 inches depending on cabinet dimensions. Proper LED light placement and installation techniques guarantee energy efficiency, while addressing lighting power needs and color temperature requirements for varied under cabinet styles.