As an Amazon Associate, we earn from qualifying purchases. Some links on this site are affiliate links at no extra cost to you. Our recommendations are based on thorough research and editorial judgment.
Fixing Dead Spots in LED Strip Installations
To fix dead spots in LED strip installations, inspect for darkened areas, often due to voltage drops or open circuits. Tools like a multimeter can measure voltage across copper pads. Check solder joints for corrosion, and repair connections using a soldering iron. Implement power injection every 10 to 15 feet to maintain consistent voltage. Regular inspections can prevent future issues. With this foundational knowledge, explore other repair techniques and maintenance strategies for peak performance.
Key Takeaways
- Inspect LED strips for darkened sections and damaged solder joints to identify dead spots accurately.
- Use a multimeter to measure voltage along copper pads and detect any voltage drops.
- Repair loose connections by re-soldering affected areas or using solderless connector clips for effective flow.
- Ensure power supply specifications match LED strip requirements to prevent inadequate voltage delivery.
- Perform regular maintenance checks to catch early signs of wear and address issues promptly.
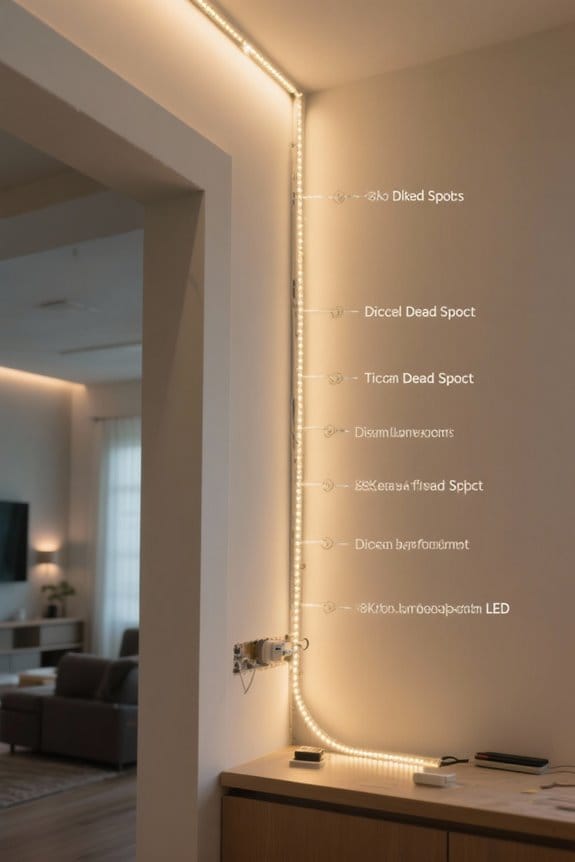
Identifying Dead Spots in LED Strips
You may be interested

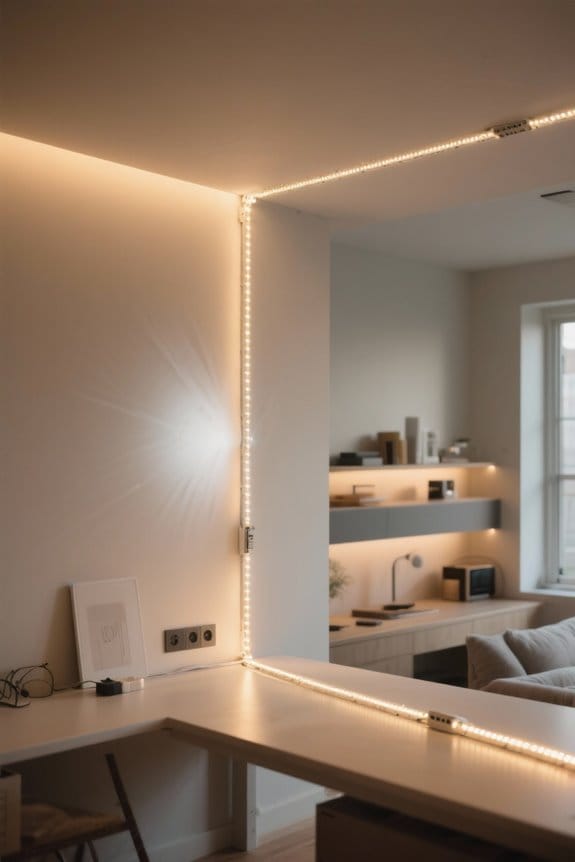
Identifying dead spots in LED strip installations is essential for ensuring consistent lighting performance. Begin with a thorough visual inspection of the LED strips, looking for darkened segments that indicate potential open circuits. Check the solder joints for corrosion, which can weaken connections and impair electrical transmission. Measuring voltage along the copper pads using a multimeter helps reveal areas experiencing voltage drops. This data is critical in isolating dead spots. Additionally, examine the cut lines for any damage, as improper cutting can render certain segments ineffective. Opting for high-quality LED strips can greatly reduce such issues, as they often feature superior connections and robust soldering practices. When necessary, prepare for repair or replacement to restore ideal functionality. Consider using mounting bracket clips to prevent sagging that could strain connections and create future dead spots.
Common Causes of Dead Spots
Dead spots in LED strip installations can stem from various factors, considerably affecting the overall illumination quality. One common cause includes weak connections that disrupt the electrical flow, creating noticeable gaps in lighting. In addition, voltage drops can occur over long runs, leading sections to receive insufficient voltage, which results in dim areas. Physical damage to the strips, such as cuts or pinched wires, may also create open circuits and contribute to dead spots. Faulty LED chips can cause specific segments to malfunction. Furthermore, inadequate power supply or incompatible power supplies can hinder proper operation by delivering insufficient voltage or wattage. Address these issues promptly to restore uniformity and ideal lighting throughout the installation. Professional installations often utilize Sea Gull Lighting splicers to minimize connection failures and maintain consistent illumination across multiple strips.
Tools Needed for Repairing LED Strips
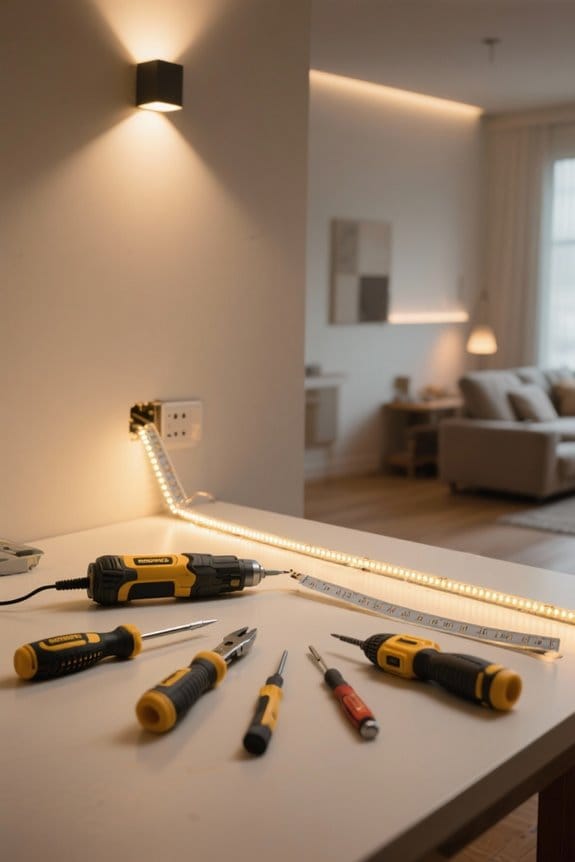
When preparing to repair LED strips, specific tools prove essential for achieving effective results. A heat gun is invaluable for softening the adhesive, aiding in the careful removal of strips without causing damage. A plastic scraper allows for gentle lifting, minimizing harm to the strip’s internal components. The soldering iron is vital for fixing any damaged connections within the LED strip, ensuring reliable electrical flow. For reattaching the strip, double-sided tape enhances durability when the original adhesive fails. After removal, a soft cloth is useful for cleaning surfaces, eliminating dust and adhesive residue that could interfere with reinstalling the LED strip. These tools for repairing assure a successful restoration of functionality in your LED installations. Most strips can be cut every 2.5 or 1.5 inches to create custom lengths for your specific repair needs.
Recommended Products

USA FAMILY-OWNED COMPANY: Master Appliance has manufacturing high quality industrial heat guns since 1958. Located in Racine, WI with over 60 years of experience in the heat tool industry, you can find Master’s heat guns like this PH-1400A variable temperature, LCD digital electric heat gun, trusted and in the hands of professionals in some of the most well-known manufacturing facilities worldwide.

USA FAMILY-OWNED COMPANY: Master Appliance has manufacturing high quality industrial tools since 1958. Located in Racine, WI with over 60 years of experience in the heat tool industry, you can find Master’s professional heat guns like this HG-501D heavy duty electric heat gun in the hands of professionals worldwide.

USA FAMILY-OWNED COMPANY: Master Appliance has manufacturing high quality industrial tools since 1958. Located in Racine, WI with over 60 years of experience in the heat tool industry, you can find Master’s heat guns like this VT-751D variable temperature electric heat gun, trusted and in the hands of professionals in some of the most well known manufacturing facilities worldwide.
Steps to Fix Dead Spots
To effectively address the issue of dead spots in LED strip installations, a systematic approach is essential. Begin by inspecting the LED strip length for any darkened sections, indicating potential dead spots. Damaged or corroded solder joints along copper pads should also be assessed. Next, measure the voltage across these pads using a multimeter to identify any voltage drops. If necessary, cut the LED strip at designated points and reconnect sections using solderless connector clips, ensuring correct polarity. Additionally, troubleshoot any loose connections and check the power supply for inadequate voltage delivery. Regularly inspect these installations to maintain ideal performance and prevent future dead spots in your lighting setup. This proactive approach enhances illumination consistency. Consider using GE Cync LED strips for their reliable adhesive backing and simple plug-and-mount installation that helps prevent connection issues.
Preventing Future Dead Spots
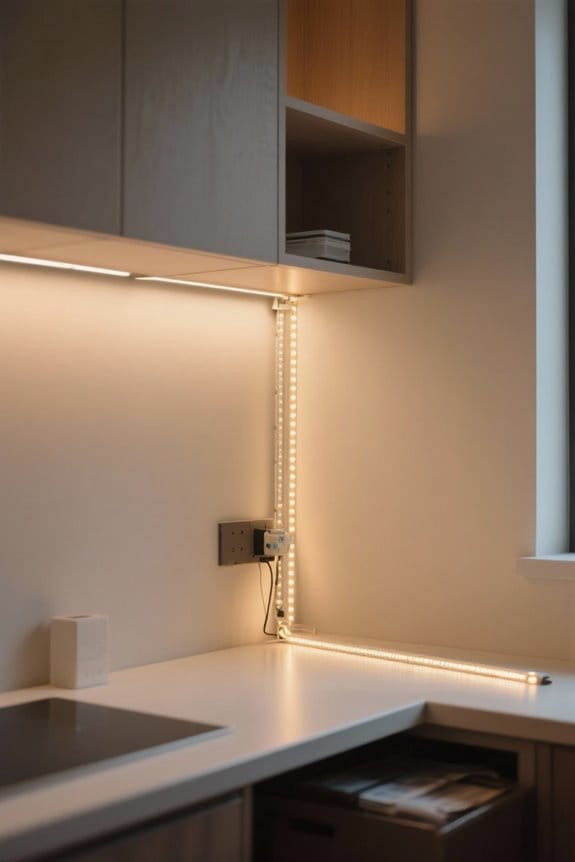
Properly preventing future dead spots in LED strip installations requires meticulous attention to detail. First, always verify that the power supply matches the voltage requirements of your LED strips; this prevents voltage drops that can cause sections to fail. Regular inspections are essential—examine the strips for visible damage, especially at cut lines and solder points. Secure all electrical connections, as loose connections are a common source of dead spots. During installation, avoid sharp bends and verify strips adhere flat to surfaces for consistent light output. Additionally, consider implementing power injection every 10 to 15 feet for longer runs. This technique helps distribute voltage evenly and enhances overall brightness, securing a reliable, efficient lighting solution for your space. Installing ETL certified drivers provides an additional layer of safety and reliability for your LED strip system.
Replacing Damaged LED Chips
Identifying and replacing damaged LED chips is essential for restoring full functionality to LED strip installations. First, inspect the LED strip for any dark or non-lighting areas, as these indicate the location of the faulty chip. Use a soldering iron to carefully desolder the damaged LED chip, applying heat judiciously to prevent harm to surrounding components. Verify the new LED chip matches the existing strip’s voltage specifications, typically 12V or 24V. When soldering the new chip into place, connect the anode and cathode to the correct pads on the PCB for proper functionality. Finally, replace the chip and test the strip to confirm that the new chip illuminates correctly and integrates seamlessly with the existing lighting. Quality LED components can provide up to 50,000 hours of reliable illumination when properly installed and maintained.
Recommended Products

Note: FOGATTI RV AC require connection to both 115V AC power and 12V DC power

Compatible with 1990-2018 Mercedes Benz G500, 1990-2018 Mercedes Benz G55, 1990-2018 Mercedes Benz G550, 1990-2018 Mercedes Benz G550 4x4, 1990-2018 Mercedes Benz G55 AMG, 1990-2018 Mercedes Benz G65 AMG, 1990-2018 Mercedes Benz G63 AMG

IP68 Full Protection & Durable Build: Aluminum alloy + PC housing with IP68 waterproof, dustproof, rustproof and shockproof performance; -40℃ to 85℃ wide operating temperature for all-weather reliability
Testing Your Fix
Once repairs to the LED strip have been made, it is essential to conduct a thorough testing process to guarantee the restoration of functionality. Begin by using a multimeter to check for continuity throughout the strip, ensuring electrical flow is uninterrupted. Measure the voltage at strategic points, particularly before and after the repaired connections; perfect voltage should match the LED specifications. Perform a meticulous visual inspection of all solder joints for signs of corrosion or looseness that could disrupt performance. After powering on the strip, observe for consistent lighting; any flickering or dim areas may indicate persistent dead spots. Finally, run the strip at full brightness to identify residual issues, confirming the success of the repairs and ensuring optimal performance. Consider installing aluminum LED channels to protect against future damage and enhance heat dissipation properties.
When to Replace the Entire Strip
In many cases, identifying the right moment to replace an entire LED strip can save time and resources. If several sections of LED strip lights fail despite checking connections and power supply, repair may be impractical. When troubleshooting reveals persistent flickering or failure of individual LEDs, it’s advisable to replace the entire strip to maintain uniformity in brightness. Additionally, if the power supply consistently delivers incorrect voltage, resulting in electrical issues that affect the strip’s performance, a full strip replacement is often the best solution. Irreversible damage, such as damaged wires or extensive wear on solder joints, suggests complete replacement is necessary. Weigh repair costs against a new strip; opting for replacement is frequently more efficient. Quality LED strips can provide 50,000 hours of reliable operation when properly installed and maintained.
Recommended Products

𝗗𝗶𝗺𝗺𝗮𝗯𝗹𝗲 𝗥𝗚𝗕 𝗕𝗮𝗰𝗸𝗹𝗶𝘁+𝗙𝗿𝗼𝗻𝘁 𝗟𝗶𝗴𝗵𝘁𝗲𝗱 - ACEMIRO lighted medicine cabinet integrates fashion and fantasy with 3000k-6000k 3-color temperature adjustment + Colorful RGB backlight modes(11 multi-color selections). The backlight and front light could be stepless dimmable and adjusted from 10% to 100% brightness to match your preferences while provide sufficient light source. Give an artistic touch of luxury to your home décor.

[Fitment]:For 2015-2016-2017-2018-2019 GMC Sierra 2500/3500(The sensor holes in the front and rear bumper don't apply to the original)

【WIDE APPLICATIONS】 Compatible With 2016 2017 2018 2019 2020 2021 2022 2023 3rd Gen T-acoma
Frequently Asked Questions
Can LED Strip Lights Be Repaired?
Approximately 90% of LED strip failures stem from connection issues. Effective repairs are achievable through LED strip troubleshooting techniques, including proper soldering basics, voltage checks, and understanding common LED strip issues for enhanced performance and longevity.
How to Fix an LED Strip Where Part of the String Is a Different Color?
To fix an LED strip with different color sections, troubleshoot voltage drops, adjust RGB settings, verify strip compatibility, and consider section replacement. Proper soldering guarantees light uniformity, enhancing color matching across all strip segments.
How to Fix LED Strip Ghosting?
To tackle LED strip ghosting, one must address LED ghosting causes, including inadequate power supply, voltage drop fixes, and connection troubleshooting. Ensuring controller compatibility and considering strip length ultimately enhances LED strip quality, minimizing flickering and color blending issues.
Why Is One Section of My LED Strip Not Working?
One section of the LED strip may not work due to faulty connections, voltage issues, or damage. Effective LED strip troubleshooting involves segment testing, checking soldering quality, and ensuring proper installation for enhanced durability and continuity.