As an Amazon Associate, we earn from qualifying purchases. Some links on this site are affiliate links at no extra cost to you. Our recommendations are based on thorough research and editorial judgment.
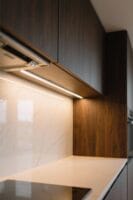
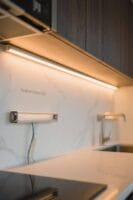
How to Extend Power Cables for LED Lights
To extend power cables for LED lights, first, select the appropriate wire gauge, such as 14 AWG, which can handle up to 15 amps. Strip 0.5 inches of insulation from cable ends to prepare them. Use JST-SM connectors for easy connections, or solder for permanence, ensuring compatibility with your LED strips. Maintain correct polarity by using red for positive and black for negative wires. Test connections with a multimeter before final installation to prevent issues with functionality. More detailed guidance awaits.
Key Takeaways
- Measure your needed cable length carefully to avoid excess wire during installation.
- Strip 0.5 inches of insulation from cable ends and select compatible 18-20 AWG wires for efficiency.
- Use quality connectors like JST-SM or opt for soldering for permanent, reliable connections.
- Verify polarity alignment of positive and negative wires, using color coding for clarity.
- Test connections with a multimeter to ensure continuity and proper function of LED strips before final installation.
Understanding Wire Gauge and Current Requirements
You may be interested
Understanding wire gauge and current requirements is crucial for safely extending power cables for LED lights. The wire gauge indicates the thickness of the wire; lower gauge numbers represent thicker, more conductive wires that minimize voltage drops over longer distances. For instance, a 14 AWG wire can handle up to 15 amps, making it appropriate for most LED installations. Always check the manufacturer specifications for total amperage to select the correct wire gauge. When using extension cables, remember that longer runs increase resistance and lead to voltage drops. Opt for thicker wires in these scenarios to maintain performance. Finally, consider the cumulative wattage of all LED fixtures to ascertain that your chosen wire gauge offers safety and efficiency. For optimal compatibility, ensure your wiring can accommodate LED strip sizes up to 12mm wide, which is the standard dimension for most aluminum channels.
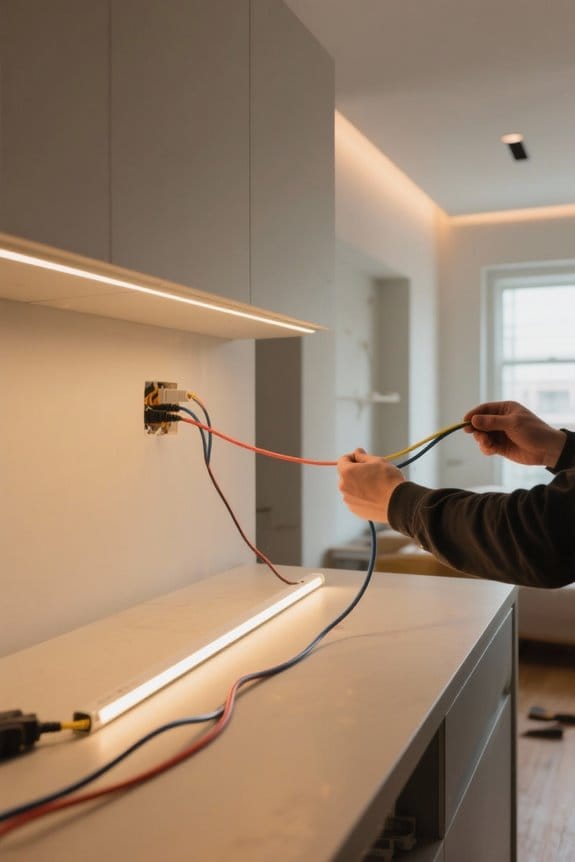
Preparing Your Existing Cables
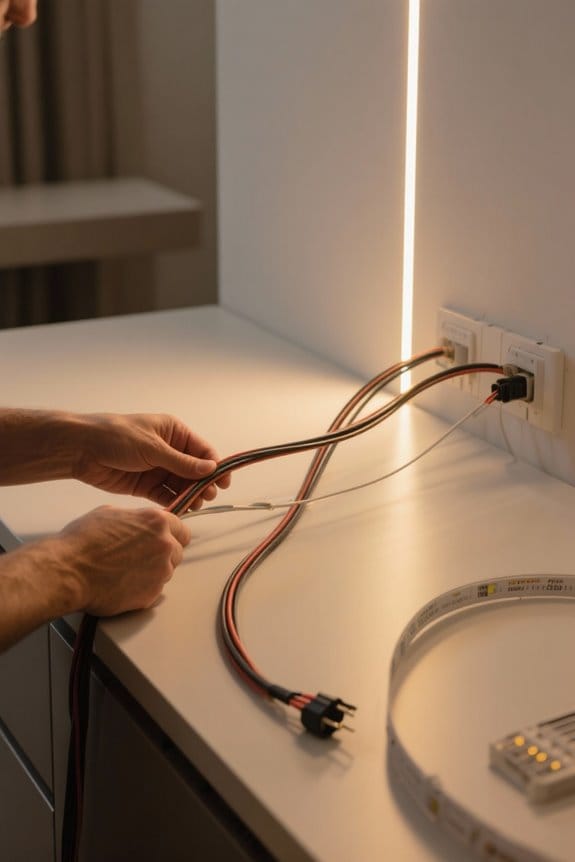
Begin the preparation process for extending power cables by accurately measuring the necessary length of the extension. This guarantees the LED strip extension meets your layout requirements without excess wire. Next, use wire strippers to carefully strip approximately 0.5 inches of insulation from the ends of the existing power cables, taking care not to damage the wire strands. It’s essential to select the compatible wire gauge and type, typically 18-20 AWG, to maintain electrical efficiency. Afterward, insulate and secure the connections using heat shrink tubing or electrical tape. These steps are crucial to prevent short circuits. Finally, always double-check the polarity when connecting the wires, ensuring the positive and negative leads are correctly aligned for peak LED functionality. For optimal performance, ensure your power cables can handle the lumens per watt requirements, which typically range from 100-150 for efficient LED lighting systems.
Recommended Products

PACKAGE BUNDLE INCLUDES: JBL PRV-175 Marine USB Bluetooth AM/FM Digital Stereo Receiver w/Remote, Extension Cable, Amplifier w/Kit, 2x 16 Gauge 20 feet Speaker Wire, USB Adapter, Antenna, 10" LED Subwoofer, 4x 6.5" 225 Watt Boat Speakers (White)
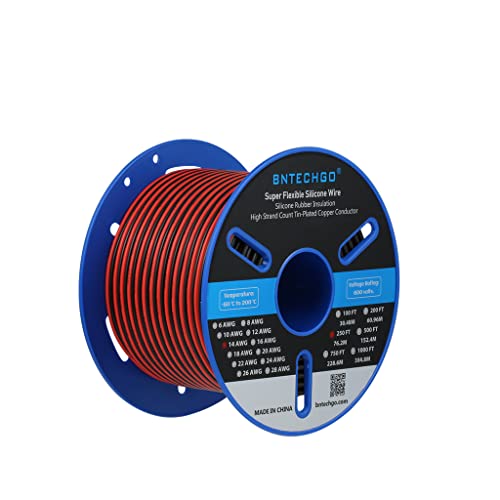
BNTECHGO 14 AWG red black 2 conductor parallel silicone wire,ultra flexible soft,easily separated, easy to use.

[Mini 960H Pan Tilt Zoom Camera] - This is NOT an IP Camera, 700TVL, 1/3" Aptina CMOS, 20X Optical Zoom, Indoor/Outdoor IP66 Waterproof Shell, PAL/NTSC free switch (will ship NTSC as default unless requested, if your home country uses PAL signal).
Choosing the Right Connectors or Soldering Techniques
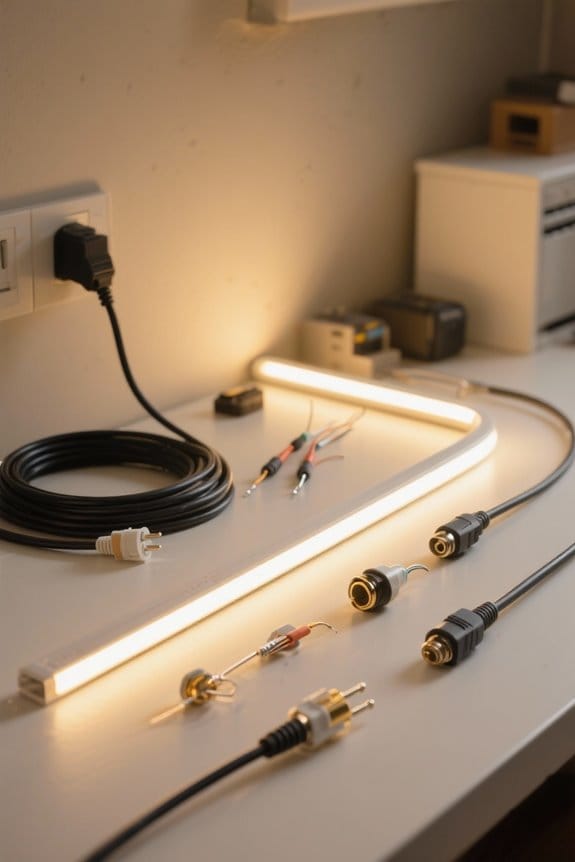
When choosing connectors or soldering techniques for extending power cables for LED lights, one must consider both functionality and ease of use. JST-SM connectors are an excellent choice for low-voltage applications, providing reliable connections without requiring soldering. For a more permanent solution, soldering is advisable, though it necessitates a soldering iron, solder, and often heat shrink tubing for insulation. Confirm compatibility with the LED strip and driver specifications to prevent overheating. When soldering, carefully strip the insulation, avoiding excess wire damage, and use a multimeter to verify connectivity afterward. Additionally, when running longer cables or traversing physical obstacles, select extension cables specifically rated for LED use to guarantee they can support the necessary voltage and current levels. Quality connectors supporting 72 watts capacity are essential for maintaining consistent brightness and preventing voltage drops across extended cable runs.
Recommended Products
![4pc SnakeEye III Blue Red 12W LED Hideaway Strobe Light [SAE Class 1] 12V 1 Inch Round Waterproof Wig Wag Emergency Flashing Hide Away Fire Police Light Bulb For Firefighter EMS POV Car Truck Vehicle](https://m.media-amazon.com/images/I/51PG43FK7QL._SL500_.jpg)
A STRONG LEADER - When lives are on the line, it makes sense to trust the best. Equipped with 12 high-intensity CREE LEDs, these SAE rated hideaway lights deliver unstoppable visibility and the unmatched ability to keep you safe.

【Individually addressable LED 】 This is digitally-addressable WS2811 LED pixel string lights. Per string has 50pcs F8 RGB LED chips and WS2811 smart IC. You can set the color of each LED and their brightness individually! 256-level brightness and 24-bit color display, achieve 16777216 colors full color display.

【Individually addressable LED 】 This is digitally-addressable WS2811 LED pixel string lights. Per string has 50pcs F8 RGB LED chips and WS2811 smart IC. You can set the color of each LED and their brightness individually! 256-level brightness and 24-bit color display, achieve 16777216 colors full color display.
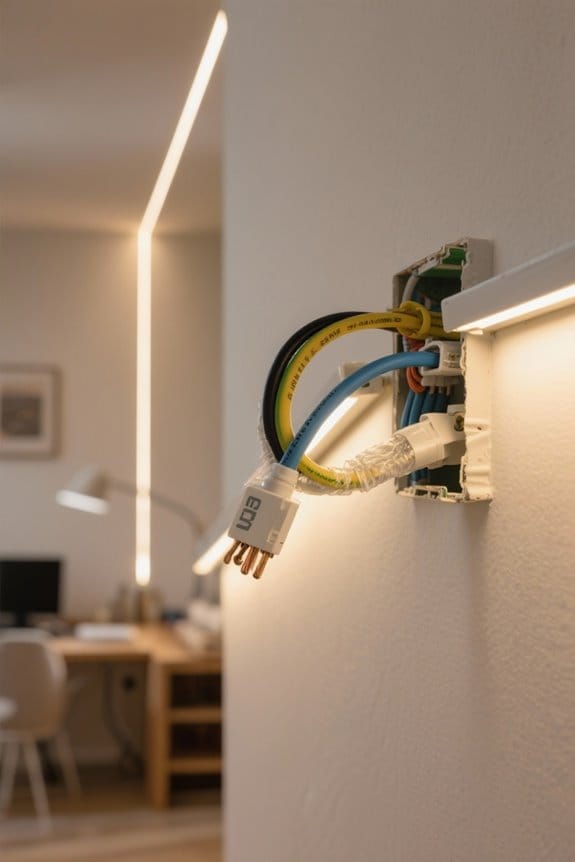
Maintaining Polarity in Your Connections
Maintaining polarity is essential for any installation involving LED lights, as improper connections can lead to malfunction or damage. When using an extension cord, always verify that the positive (+) and negative (-) wires are correctly aligned. Use a multimeter to check the polarity before finalizing connections; this verifies that the installation is safe. Typically, wiring color coding employs red for positive and black for negative, which aids in maintaining consistent polarity. If connectors are utilized, verify compatibility with the specific LED strip to avoid misalignments. Additionally, labeling wires at both ends of the extension cord can prevent confusion, verifying proper polarity is preserved throughout the installation. Consistency and attention to detail are paramount for successful LED installations. With proper polarity maintenance, you can achieve high energy efficiency and extend the typical 60,000-hour lifespan of your LED strip lights.
Insulating Your Connections for Safety
Insulating connections properly is essential for ensuring the safety and longevity of LED installations. Use heat shrink tubing to provide a waterproof seal and protect against mechanical stress. Cut and strip wires evenly, exposing minimal copper for clean connections, which reduces the risk of shorts. While electrical tape can insulate connections, it must be wrapped tightly to prevent moisture ingress. Additionally, consider using connectors with built-in insulation to secure connections efficiently without extra materials. Always double-check that all connections are securely insulated prior to applying power. This step is vital in avoiding potential short circuits or electrical fires. Professional-grade insulation measures enhance the reliability and durability of any LED lighting setup. Proper insulation helps maintain the 25,000 hour lifespan typical of Energy Star LED lights by protecting the electrical components from environmental factors.
Recommended Products

3-in-1 Fiber Holder: 3 In 1 Fiber Holder suit for single-mode fiber (SMF/G 652), BIF/G.657); Suitable for single mode, multi-mode, bare fiber, tail fiber, skin fber, jumper, invisible fiber fusion; Splice Loss: 0.02dB (SM),0.01dB (MM),0.04dB (DS/NZDS). The cladding diameter 80-150μm.

Tinned Copper Material: Tinned copper braided ground straps are made of multiple 0.12 mm single bare copper tinned wires with fine weave density. Tinned copper has electrical conductivity, high flexibility

Professional 18 V battery-powered hot air blower for fast and easy use in hard-to-reach places, ideal for shaping and welding plastic, heating heat-shrink tubing, soldering, tinning and loosening adhesive joints
Testing Your Setup Before Final Installation
Thoroughly testing the setup before final installation is critical to guarantee reliability and performance of LED lighting systems. Begin by using a multimeter to check continuity across extended power cables, ensuring there are no breaks or faulty connections. Next, test each LED strip individually after wiring, verifying that there is no flickering or inconsistent brightness. It is essential to confirm that the total wattage of all LED strips does not exceed the power output capacity of the controller, as this can prevent overheating and fire hazards. Temporarily secure connections and power on the lights during the testing phase, evaluating the overall functionality. Additionally, note distance limitations for data cables to avoid signal degradation, which affects control of addressable LED strips. For optimal performance, ensure your LED strips maintain a minimum 2000 lumens output to achieve professional-grade under-cabinet lighting results.
Recommended Products

AIRFOILS: Patented airfoil system includes six airfoils and winglets for maximum airflow and efficiency. Cuffed winglet design eliminates wind noise for quiet fan operation.

INTELLIGENT TV PROCESSING – The Cognitive Processor XR understands how humans see the real world to deliver intense contrast with deep blacks, high peak brightness, and natural colors

[UNLEASH 30,000A PEAK & INSTANT START]This heavy duty jump starter delivers 30,000A peak and 3,000A/1,500A rated current (12V/24V). It starts all gasoline engines and diesel engines up to 50.0L in 1 second, even from a dead battery. Powers trucks, construction and industrial equipment. Your critical-start assurance.
Troubleshooting Common Issues With LED Extensions
Troubleshooting common issues with LED extensions is essential for guaranteeing ideal performance and longevity of the lighting setup. Begin by confirming that the wire gauge used for the extension matches the specifications required by your LED light; typically, 18 to 22 AWG wire is suitable. Verify connections, such as JST-SM connectors, are secure to maintain strong electrical continuity. Improper wire stripping can lead to weak connections; strip just enough to connect without excess exposure. For permanent setups, opt for soldering rather than connectors. Long cable runs often cause voltage drop, impacting brightness, so choose wire that accommodates your total current load. Finally, utilize a multimeter to check all connections for continuity before activating the extension, preventing overheating or damage. Modern LED solutions provide energy savings up to 90% over traditional incandescent bulbs while maintaining comparable brightness levels.
Recommended Products

HIGHT QUALITY 3 Channel LED Cable with Black PVC Jacket

HIGHT QUALITY 3 Channel LED Cable with White PVC Jacket

High Quality 18 Gauge Stranded Wire Pure Copper, Oxygen Free, In-Wall White PVC Jacket
Frequently Asked Questions
How to Extend a Power Cable?
To extend a power cable, one must weave together compatible cable types, considering length like a thread in a tapestry. Proper connections and meticulous insulation guarantee safety, preventing overheating and preserving the harmony of electrical flow.
Can I Plug LED Lights Into an Extension Cord?
Yes, LED lights can be plugged into an extension cord. However, it is essential to follow safety guidelines and choose appropriate extension cord types to guarantee compatibility and prevent overheating or fire hazards during use.
How to Hide Power Cord for LED Strip Lights?
To hide power cords for LED strip lights, one should consider cable raceways, adhesive clips, or running them behind furniture. Creative cord concealment enhances power cable organization, maintaining aesthetic appeal without compromising functionality in any space.
What Are the Chances of LED Lights Catching Fire?
The chances of LED lights catching fire are low due to their energy efficiency and lower heat generation. However, fire safety remains essential, as electrical hazards can arise from overloading circuits or using damaged components.