As an Amazon Associate, we earn from qualifying purchases. Some links on this site are affiliate links at no extra cost to you. Our recommendations are based on thorough research and editorial judgment.
How to Install Motion Sensor Switches for Cabinet Lights
To install motion sensor switches for cabinet lights, first turn off the electricity at the main circuit breaker, ensuring safety. Gather essential tools like wire cutters, screwdrivers, and a non-contact voltage tester. Remove the existing switch, disconnect wires, noting connections. Connect the hot wire to the sensor’s black wire, and secure the ground wire. Mount the sensor at a height of 5 to 6 feet for maximum detection. Next, adjust settings for sensitivity and timeout duration to tailor performance. Further instructions will clarify installation details.
Key Takeaways
- Ensure safety by turning off the main power and confirming disconnection with a non-contact voltage tester before starting the installation.
- Remove the existing switch and connect the motion sensor switch wires as per the color coding: black (hot), red (load), and ground (green/bare).
- Select an optimal installation location inside the cabinet, positioned 5 to 6 feet high and away from frequent access areas to avoid false activations.
- Test the motion sensor’s functionality by opening and closing the cabinet door, adjusting sensitivity and timeout settings as needed for better performance.
- Regularly check the motion sensor for effectiveness and ensure the light activates reliably upon detecting movement in the cabinet.
Ensure Safety by Turning Off Electricity
You may be interested


Before beginning the installation of motion sensor switches, guaranteeing safety is paramount, particularly through the critical step of turning off electricity. First, locate the main circuit breaker box and switch off the power to the corresponding circuit. Use tape to label the breaker clearly to prevent accidental reactivation. It is crucial to confirm the power is off by utilizing a non-contact voltage tester at the switch location. This device should show no indication of electrical activity. Double-checking the disconnection of power guarantees a secure environment for the installation process. Ignoring these essential safety protocols can lead to hazards, jeopardizing both the project outcome and the installer’s safety. Preparation is key; always prioritize safety by using the necessary tools effectively. While most battery-powered cabinet lights don’t require electrical work, following proper safety protocols remains essential for any lighting installation.
Gather Necessary Tools and Equipment
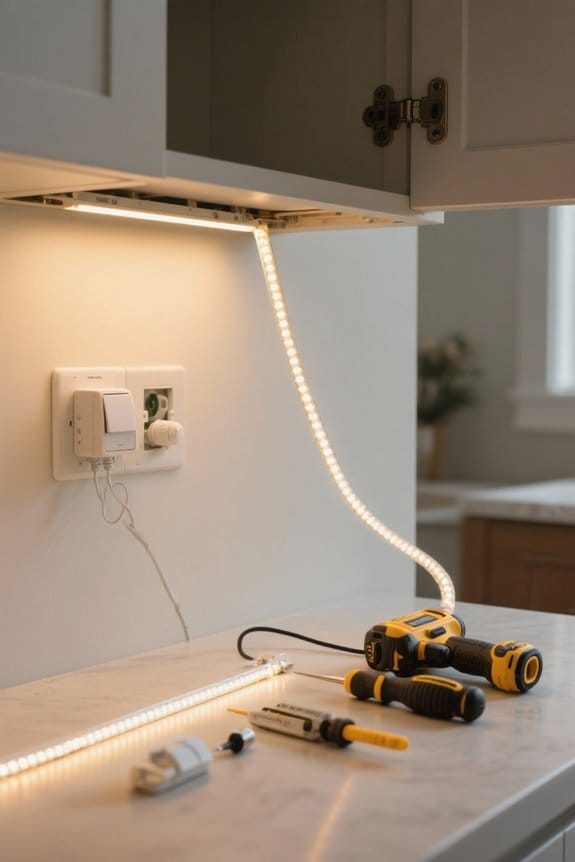
Gathering the necessary tools and equipment is essential for a successful installation of motion sensor switches, guaranteeing that all tasks can be completed efficiently and safely. Key tools include wire cutters, a terminal screwdriver, a knife, and a non-contact voltage tester to verify that power is off. A drill may be needed, depending on the installation environment. Confirm that wire connectors are included in your motion sensor switch kit for proper electrical connections. Have tape on hand to mark the breaker switch, keeping it “off” during work. Additionally, a level is advisable for straight mounting of the switch. These tools and materials will streamline your installation process and enhance safety as you proceed. Modern motion sensors can detect movement up to 10 feet range and provide excellent coverage for cabinet lighting applications.
Safety Measures
Guaranteeing safety is paramount when installing motion sensor switches, as even minor oversight can lead to serious hazards. Always turn off the power at the main circuit breaker before starting any electrical installation. This vital safety measure prevents shock hazards. Afterward, utilize a non-contact voltage tester to confirm that power is completely disconnected at the switch location. While handling wires, always wear insulated gloves to protect against accidental shocks. Secure all wire connections properly with wire nuts to prevent short circuits or potential electrical fires. If any uncertainties arise regarding wiring connections, or if local codes mandate professional installation, consult a licensed electrician. Implementing these safety measures will guarantee the proper and safe function of your smart lighting system. For enhanced convenience and safety, consider installing lights with strong magnetic mounts that eliminate the need for complex wiring altogether.
Step-by-Step Guide to Remove Existing Switch
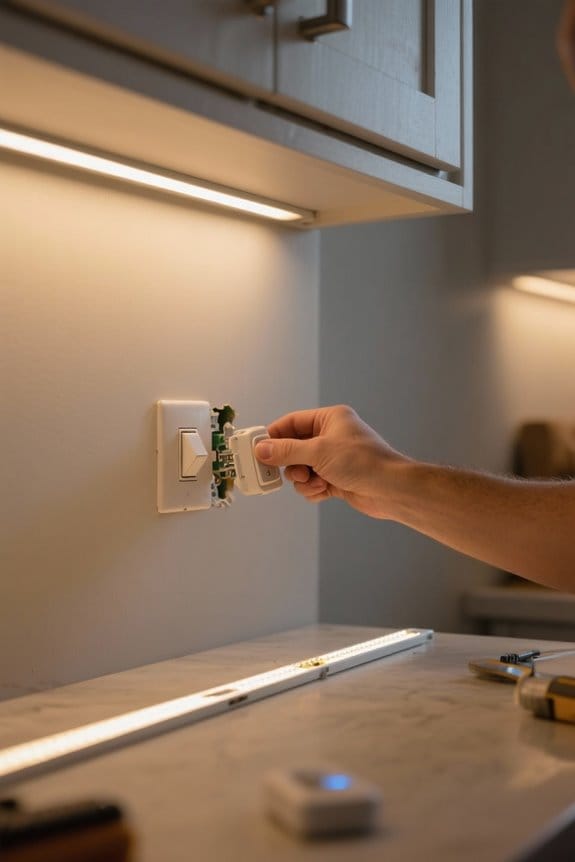
Following the implementation of critical safety measures, the next step involves the careful removal of the existing switch. Begin by ensuring the power is completely turned off at the main circuit breaker box, then verify disconnection with a voltage tester. In this Step-by-Step Guide, use a small flat head screwdriver to gently remove the faceplate, taking care not to damage the edges. Unscrew the existing switch from the electrical box while keeping the wires attached to maintain their connections for reference. Carefully disconnect the wires by untwisting wire nuts or unscrewing them from terminals, noting which wire corresponds to the incoming power, load, and ground. Finally, cap off any unused wires with a wire nut for safety. The new motion sensor switch should feature a 120-degree field of detection for optimal coverage of your cabinet lighting area.
Identifying Different Wires
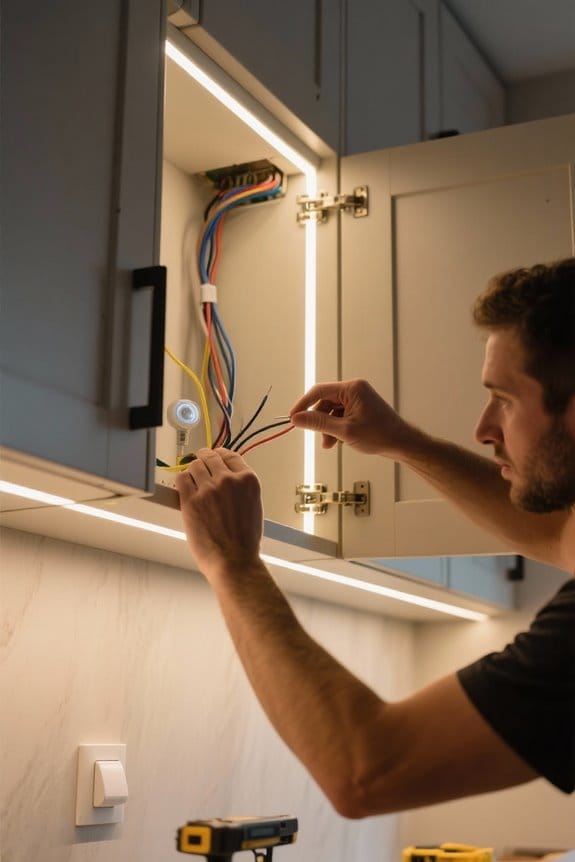
Correctly identifying different types of wires in an electrical circuit is imperative for a successful motion sensor switch installation. The incoming hot wire is generally black and serves as the primary power source. Identifying different wires also includes the load wire, commonly red or another color, which connects to the light fixture. A grounding wire is usually bare copper or green, providing an important safety path to prevent electrical shocks. If present, the neutral wire will be white, completing the circuit back to the electrical panel. Understanding these distinctions is essential. Any errors in wiring might cause the motion sensor switch to malfunction. Make sure all wires are accurately identified and connected before proceeding with installation for safety and efficiency. For optimal functionality, connect to high lumen output lights that provide adequate brightness for motion detection and visibility.
Proper Wiring Technique
Begin the wiring process by verifying accurate connections for ideal functionality of the motion sensor switch. First, correctly identify and connect the hot wire, typically black, from the wall to the black wire on the motion sensor. Next, link the return wire, usually red, from the sensor to the load wire heading to the light fixture. This setup guarantees the light activates when motion is detected. It is essential to secure the ground wire, generally green or bare copper, from the motion sensor to the existing ground wire in the electrical box for safety. Additionally, proper wiring technique mandates capping off any unused wires with wire nuts to prevent short circuits. Finally, double-check all connections to confirm a secure installation before restoring power. Modern motion sensors feature a 120-degree activation angle for optimal coverage of the cabinet area.
Testing for Proper Functioning
Testing the motion sensor switch is essential to ascertain it operates as intended. Begin by manually opening and closing the cabinet door. Observe if the motion sensor light activates in response to movement. If the light fails to engage, check that the power supply and wiring connections are secure. Adjust the sensitivity settings on the sensor to enhance its responsiveness within its detection zone. For timeout settings, remain still inside the cabinet and time how long before the light turns off; it should match the selected timer duration. Regular testing for proper functioning, by conducting motion tests periodically, ascertains the sensor maintains its effectiveness over time. This diligence will help confirm reliability and consistent performance. Most sensors provide 120-degree angle detection capabilities for optimal coverage of your cabinet space.
Making Necessary Adjustments
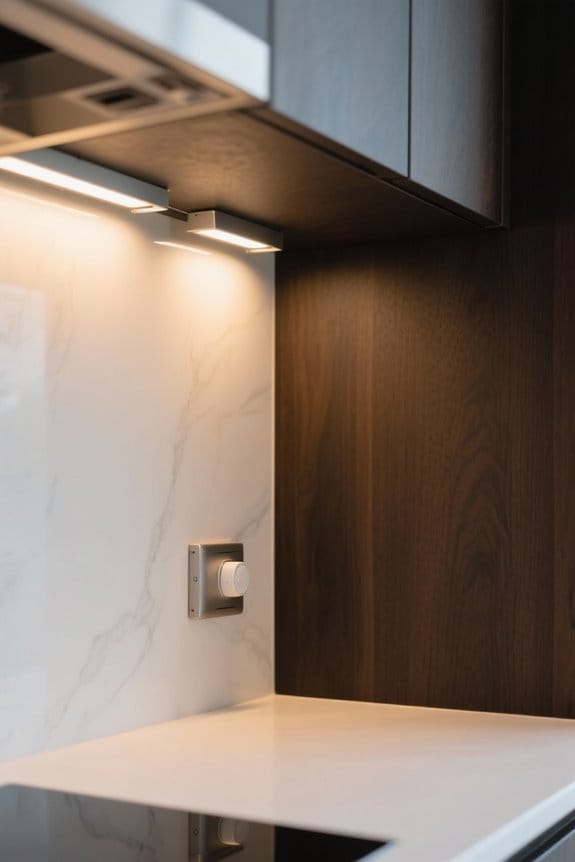
Making necessary adjustments to a motion sensor switch is crucial for enhancing its performance. First, adjust the sensitivity by partially covering the sensor lens with electrical tape. This prevents false triggers caused by minor movements. Next, tilt the sensor head upward or downward to adjust the detection zone, confirming it effectively covers the desired area. Additionally, set the timeout duration based on your preference, choosing from 1, 5, 15, or 30 minutes for how long the cabinet light remains on post-detection. Confirm no obstructions block the sensor’s line of sight to maximize detection efficiency. Finally, after making these adjustments, thoroughly test and fine-tune the sensor’s position for peak functionality and user convenience. For optimal energy efficiency, consider models like the MCGOR lights that offer 10-foot detection range for reliable motion activation.
Why Choose LED Motion Sensor Cabinet Light?
Convenience is a pivotal aspect when selecting lighting solutions for cabinets and drawers, and LED motion sensor cabinet lights epitomize this quality. These lights automatically activate upon detecting motion, eliminating the need for manual switching, which enhances user experience. With their energy-efficient design, LED lights consume up to 80% less electricity than traditional incandescent bulbs, markedly lowering energy bills. The compact profile allows them to fit seamlessly within various cabinet sizes and tight spaces. Many models offer adjustable sensitivity settings and timeout durations, providing intelligent lighting tailored to specific needs. By ensuring adequate illumination, these lights enable users to view cabinet contents easily, reducing potential accidents and frustrations in dim environments. Choose LED motion sensor lights for an effective upgrade. Modern motion sensor lights can detect movement within a 120-degree angle range for comprehensive coverage of your space.
Recommended Products

Voice Control with Alexa: Use voice commands or the Alexa app to control power, dimming, night mode and adjustable white light for the under cabinet lighting bars (no third party app required).

These LED lights come on with any motion. Even in Daylight. Lock Connection is based in Lancaster PA. If you want LED lights that come on only at night, please order our LED-310D lights

【Smart Motion Sensor - Lights Your Path Automatically】: Equipped with an advanced motion and light sensor, ModoLight automatically turns on when you approach within 3 meters. Enjoy hands-free, reliable illumination for hallways, stairs, closets, and nighttime navigation.
Prepare the Tools and Materials You Need
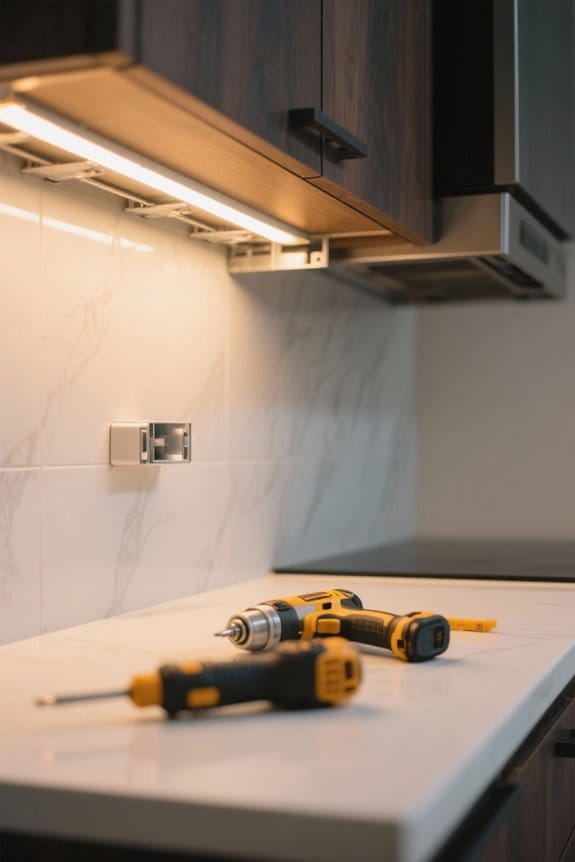
To successfully install motion sensor switches, thorough preparation of tools and materials is fundamental. Gather primary tools such as wire cutters, screwdrivers, and a drill, if needed. A non-contact voltage tester is essential for verifying that power is off at the switch location, preventing electrical hazards. Make certain you also have the complete motion sensor switch kit, which includes imperative wire connectors and any screws necessary for mounting. Consider an accurate measuring tool and level for positioning the motion sensor switch within the cabinet. Additionally, decide on a power source—either battery-powered lights or a plug-in option—based on cabinet accessibility to outlets. Proper tools and materials streamline the installation process, enhancing safety and efficiency. When selecting motion-activated cabinet lights, consider options like the Hensam model with hand wave activation and five adjustable brightness levels for optimal customization.
Recommended Products

Anti-Fog Technology: Never worry about foggy mirrors again! Our 96x40 bathroom mirror cabinet features anti-fog tech that keeps the mirror clear even after hot showers, delivering reliable clarity for your daily routine

SMART LIGHTING SIDE CABINET: The lighting side cabinet equipped next to the smart mirror not only provides additional storage space, but also infuses the space with a sense of modern technology and art. The hanging vanity design is simple and generous, easy to take care of, whether it is a small bathroom or a spacious space can be easily adapted to create a stylish bathroom environment.

Premium Materials: Made from anodized aluminum, the WELLFOR 60"x36" LED medicine cabinet features a waterproof, copper-free silver mirror and a tempered glass back for safety and style.
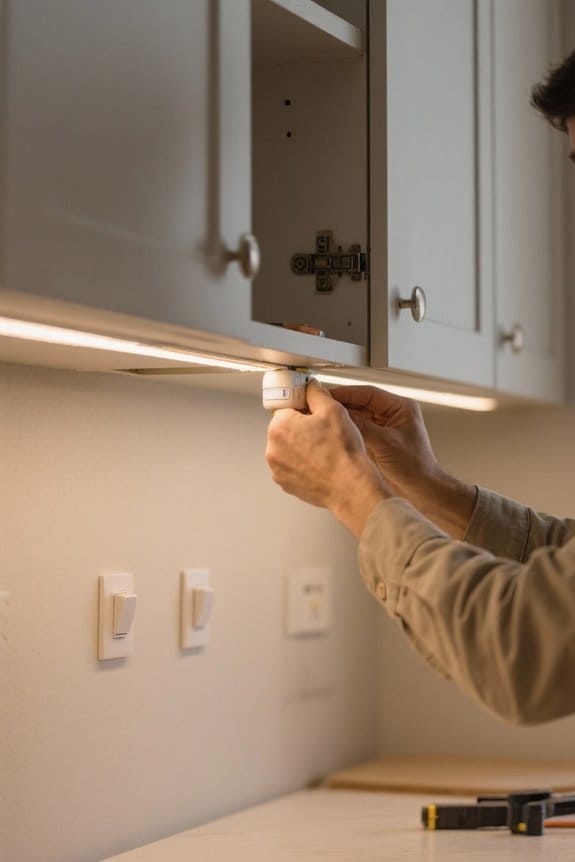
Choose a Suitable Installation Location
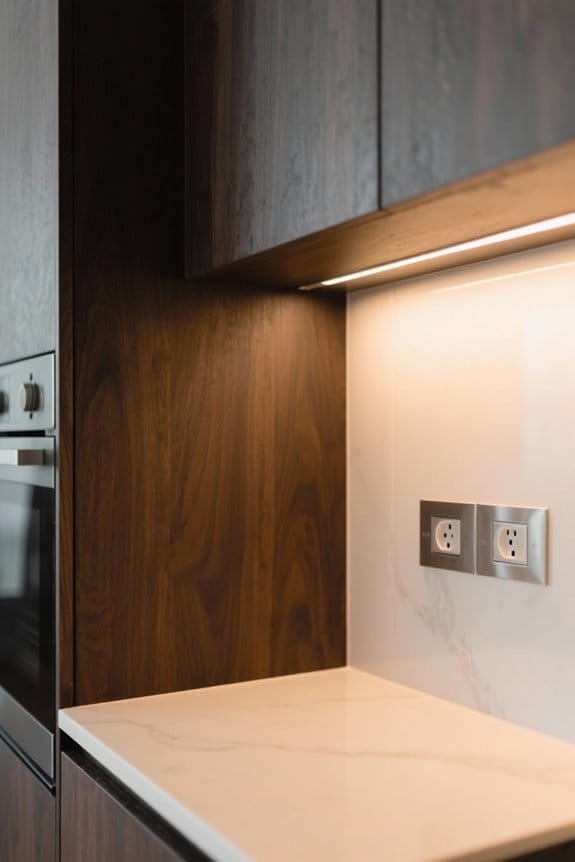
Selecting the ideal installation location for a motion sensor switch is essential for peak functionality. Install the switch inside or at the bottom of the cabinet to enhance motion detection when the door opens. The mounting base should be positioned away from obstructions to guarantee a clear field of view, allowing the sensor to activate promptly. Position the lamp high enough to illuminate the entire cabinet, preferably at the top or bottom, while avoiding shadows. Avoid placing the sensor near frequently accessed items to prevent unintended activations. Install the switch at a height of 5 to 6 feet for best sensitivity and convenience. This balance guarantees the sensor operates effectively without being obstructed by cabinet contents.
Recommended Products

Advanced & Customizable LED Lighting - Experience full control over your bathroom lighting with LED strips on the front and back of the cabinet. You can easily adjust the brightness and choose from a wide range of warm to cool light tones (3000K-6000K). The lights are built to last over 50,000 hours, so they will keep shining for a long time. There’s a handy night light that turns on when it gets dark and automatic lighting inside the cabinet that switches on when you open the doors, making it both convenient and secure. The lights remember your last settings, so you don’t have to readjust them each time

Premium Materials: Made from anodized aluminum, the WELLFOR 60"x30" LED medicine cabinet (Three doors opening) features a waterproof, copper-free silver mirror and a tempered glass back for safety and style.

POWERFUL AND QUIET - Listed 400 in maximum static pressure and as low as 37 dB in noise level with our signature WhisPower aerodynamic technologies which can boost the suction power up to 850 CFMs with less energy consumed, covering 6 square feet or a 4-6 burner cooktop with ease.
Confirm the Power Supply
Once the installation location is determined, how can one verify that the power supply is safe and compatible? First, make certain that the main circuit breaker is completely turned off to avoid electrical hazards. A non-contact voltage tester is essential for confirming no residual voltage remains at the switch location. Mark the breaker switch with tape to prevent accidental activation during installation. If the motion sensor switch requires a neutral wire, confirm that the electrical box has this available; this is vital for ideal operation and proper light levels. Finally, double-check that all necessary tools, such as wire connectors and terminal screwdrivers, are ready to facilitate a smooth installation process, confirming reliability and effectiveness of the cabinet lights.
Recommended Products

Key measurements- automatically capture and log voltage, current, power, power factor, energy and associated values

Key measurements- automatically capture and log voltage, current, power, power factor, energy and associated values

70 kV high-voltage discharge stick
Frequently Asked Questions
Can I Install a Motion Sensor to an Existing Light Switch?
Yes, one can install a motion sensor to an existing light switch, provided the sensor compatibility aligns with the existing wiring. Following safety protocols and ensuring proper wire connections are essential for successful installation and functionality.
What Are Two Drawbacks of Using Motion Sensors?
With up to 30% of energy wasted due to false activations, sensor limitations become evident. Additionally, inconsistent sensitivity settings can lead to inadequate illumination, leaving dark spots in spaces reliant on motion sensors for lighting.
Do You Need an Electrician to Install a Motion Sensor Light?
An electrician may be necessary for installing a motion sensor light, especially considering safety considerations. Proper wiring guarantees compliance with local codes, prevents hazards, and provides assurance in more complex installations, ultimately enhancing functionality and safety.
Where Should You Not Place a Motion Sensor?
Where should one avoid placing a motion sensor? Sensor placement is vital; it should not be near heat sources, facing windows, in high-traffic areas, or in direct sunlight, to guarantee ideal performance and accuracy.