As an Amazon Associate, we earn from qualifying purchases. Some links on this site are affiliate links at no extra cost to you. Our recommendations are based on thorough research and editorial judgment.
Step-by-Step Guide to Installing Under-Cabinet LED Lights
To install under-cabinet LED lights, begin by measuring each cabinet section for length and choosing strips with 200 lumens per foot. Make certain you select a power supply compatible with your LED strips. After cleaning the cabinet undersides, connect the strips to the power supply and test for functionality. Secure the strips using strong backing tape or aluminum channels, maintaining correct polarity. Troubleshoot any flickering lights by checking connections, and enhance your setup with dimmers or motion sensors for added convenience. Continue to explore installation techniques for best results.
Key Takeaways
- Measure cabinet lengths and choose suitable LED strips, ensuring a minimum brightness of 200 lumens per foot for effective illumination.
- Turn off power at the breaker, and clean surfaces thoroughly to ensure safe and effective installation.
- Connect the LED strips to a power supply for testing brightness and color temperature before final installation.
- Securely mount LED strips using strong backing tape or aluminum channels, ensuring correct polarity in all connections.
- Enhance ambiance with features like motion sensors and consider smart home integration for energy efficiency and convenience.
Planning Your Under-Cabinet LED Lighting Installation
You may be interested


When beginning the process of planning an under-cabinet LED lighting installation, how can one guarantee that every detail is accounted for? Start by measuring the length of each cabinet section accurately to determine the total length of LED strips needed, adding extra for adjustments. Select LED strips with a minimum brightness of 200 lumens per foot and choose between warm white or cool white color temperatures based on personal preference. Purchase the necessary mounting hardware, connectors, and compatible power supply. Consider installing a wiring box above the upper cabinet for easy access to the power source while running wires. Finally, ascertain you have a clear understanding of the layout to facilitate the entire installation process efficiently. Modern edge-lit LED fixtures can provide up to 50,000 hours of reliable illumination for your space.
Safety Precautions and Cleaning Preparation
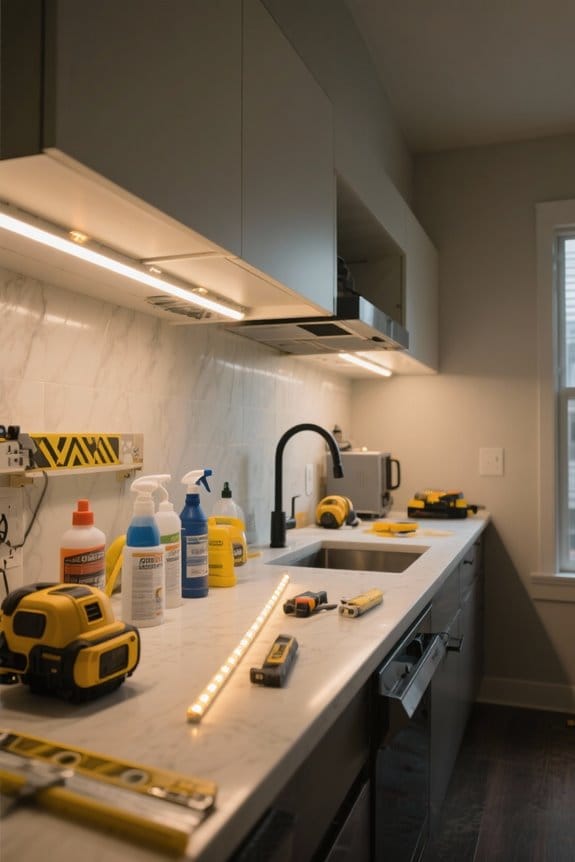
Proper safety precautions and thorough cleaning preparation are essential steps in an under-cabinet LED lighting installation. First, turn off the power at the breaker to prevent electrical shock. Use a voltage tester to verify that no power flows to the outlets you’ll be working on. Always wear safety glasses when drilling or cutting materials to protect your eyes from flying debris. Next, guarantee thorough cleaning of the cabinet undersides by using a degreasing cleaner, followed by rubbing alcohol. This process removes any grease or residue, assuring maximum adhesion for the LED tape’s adhesive backing. Allow all surfaces to dry completely and inspect for any obstructions or damage before starting the installation to guarantee a successful outcome. Modern battery-powered LED lights offer an alternative installation method that eliminates the need for electrical wiring while providing 20 to 375 lumens of adjustable brightness.
Step 1: Selecting the Right LED Strip Lights and Power Supply
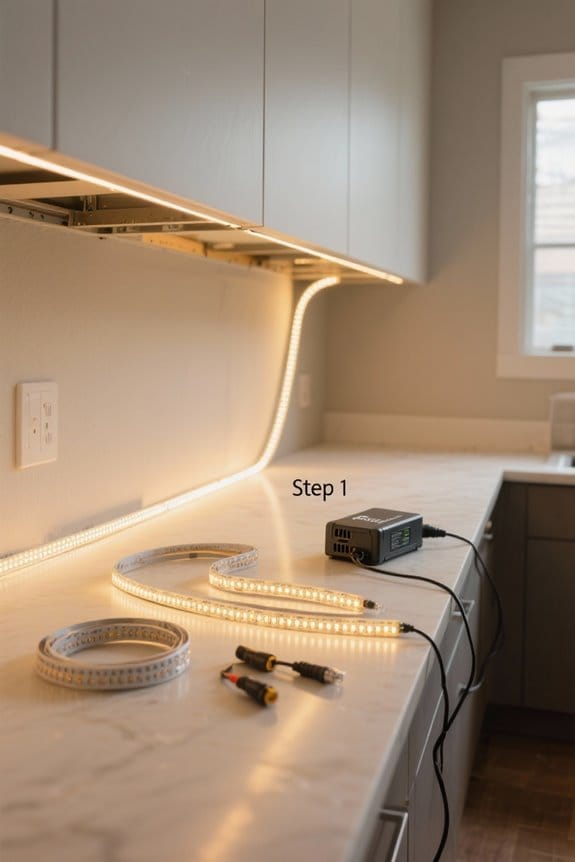
Selecting the correct LED strip lights and power supply forms the backbone of a successful under-cabinet lighting installation. Opt for high-quality LED strip lights, like the Premium 24V COB model, which features 2560 bright chips for excellent task lighting. Aim for a color temperature of 3000K, or warm white, to create a cozy kitchen atmosphere. Confirm the LED strips provide a minimum brightness of 200 lumens per foot, effectively meeting your lighting needs. Additionally, consider incorporating a dimmer switch for adjustable brightness levels, enhancing your control over various tasks or moods. Finally, calculate the total length of LED strips required and purchase slightly more to accommodate adjustments during installation. Quality LED strips with strong adhesive backing ensure secure mounting and long-term durability for your under-cabinet installation.
Step 2: Testing the LED Lights
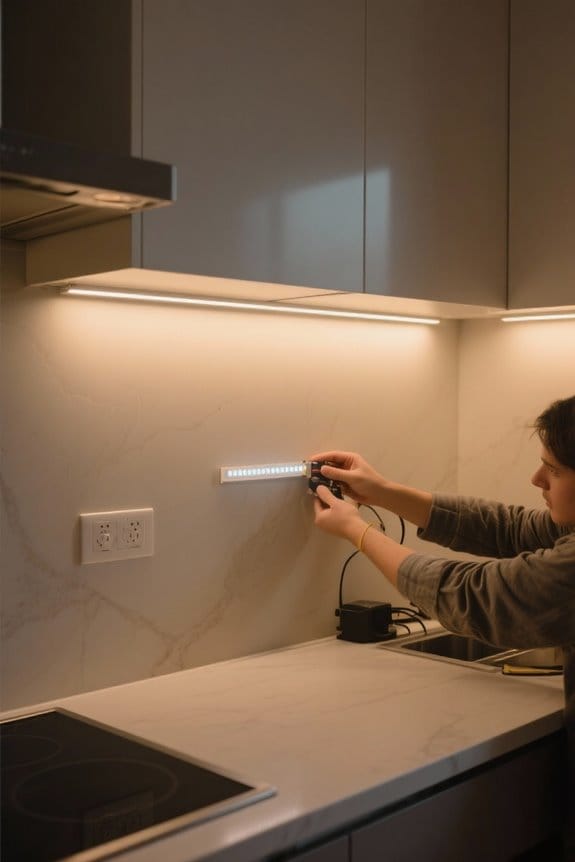
Begin the testing process by unrolling the LED strip lights from their plastic reel; this prevents tangling and guarantees easy handling. Attach the uncut LED strip lights to the power supply and power them on to verify that all individual LEDs light up and function correctly. During testing, evaluate the brightness, typically aiming for 300 to 500 lumens per meter, and check the color temperature, which should range from 2700K to 3000K for warm white light. If any issues arise, such as dim LEDs or flickering, consult customer support for troubleshooting assistance. Performing a mock installation allows for real-time assessment of lighting placement, ensuring ideal visibility before final mounting and confirming that the LEDs meet the desired illumination requirements for your kitchen. Consider using adhesive or clips for secure mounting flexibility during the testing phase.
Step 3: Taking Measurements and Making Cuts
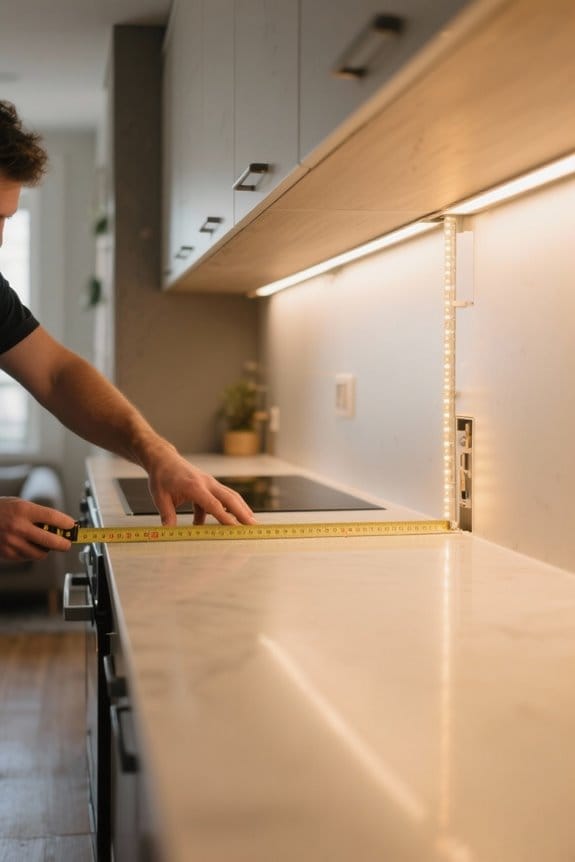
Accurate measurements are essential for the successful installation of under-cabinet LED lights. Begin by taking measurements of the total length of the cabinet sections, accounting for corners and obstructions. Document all measurements clearly to avoid future confusion. Allow for 1-2 inches of slack at both ends of the LED strip, which facilitates connections. When ready to cut the LED strip lights, use sharp scissors and adhere strictly to marked cut lines; incorrect cuts may hinder functionality. If installing multiple strips, guarantee they are evenly spaced and customized to fit the specific cabinet layout. This meticulous approach not only enhances illumination but also maximizes the effectiveness of installing undercabinet lighting, guaranteeing a seamless and polished look. For optimal task lighting performance, ensure your LED strips provide at least 500 lumens per foot to maintain sufficient brightness for countertop activities.
Step 4: Preparing the Strip-to-Power Connection
Establishing a reliable strip-to-power connection is essential for the functionality of under-cabinet LED lights. Begin by preparing the low-voltage wire; cut it to the necessary length, making certain it reaches the power supply without excess slack. Next, strip approximately one inch of insulation from both the ends of the LED strip and the low-voltage wire, revealing the copper wire underneath. When connecting, make sure to twist the exposed copper ends of the positive and negative wires together. Secure these connections using wire nuts for stability. Confirm the polarity is correct, with positive (+) and negative (-) wires aligned consistently. Finally, verify the connections’ stability to prevent any operational failures during use. Ensure thorough and careful preparation for peak functionality. When troubleshooting, watch for flickering lights as this commonly indicates connection or transformer problems.
Recommended Products

Stainless Steel Material: The range hood handcrafted with SUS 304 stainless steel and exquisite craftsmanship, guaranteeing the stability and durability. It is handmade by the professional craftsman, and it is durable enough to provide you with a reliable long-term usage experience

Gemini LED tape light output is 3W per foot with easy-to-setup seamless and scalable run lengths up to 24 feet.

▶ Hardwired or Plug-in Installation – Install as permanent LED under cabinet lighting with direct wire, or use a plug-in for quick setup without an electrician. Flexible solution for kitchens, closets, and workspaces
Step 5: Connecting Two Lengths of LED Strips
Once the strip-to-power connection is complete, it’s time to connect two lengths of LED strips for extended lighting coverage. Use a solderless connector designed for seamless connection, streamlining the installation process. Begin by peeling back half an inch of backing tape from both LED strips, exposing the adhesive. Align the positive (+) and negative (-) terminals accurately with the connector’s corresponding sides. This alignment is vital for proper electrical functionality. Next, carefully clip the LED strips into the connector, ensuring they are securely fastened. After connecting, power on the LED strips to test if both sections illuminate correctly. This verification step is essential to guarantee that your lighting installation is operational and effective. For maximum durability and performance, select connectors made from tin-plated copper materials that ensure stable and long-lasting connections.
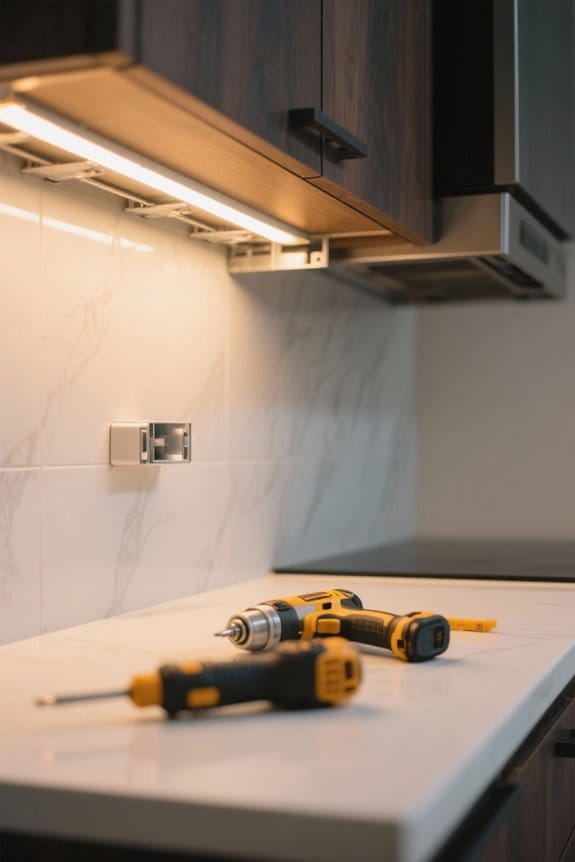
Step 6: Testing and Mounting the COB Lights
Testing and mounting the COB lights are critical steps in guaranteeing that they perform efficiently and enhance the kitchen environment. First, temporarily connect the lights to the power supply using a 2-way terminal block or wire nuts to verify their functionality. Confirm correct wiring for the dimmer, with the black wire in the negative slot and the red wire in the positive slot. After confirming that the lights operate as intended, proceed to the mounting phase. Use strong backing tape or aluminum channels for secure placement beneath the cabinets. Tighten all electrical connections with a flathead screwdriver to prevent loosening. Test the lighting under varied dimmer settings to ascertain the brightness aligns with your needs for various tasks. For optimal color accuracy during task lighting, choose LED strips with a high CRI rating of 95 or above to ensure true representation of colors in your workspace.
Recommended Products

Unparalleled Brightness: Illuminate your space with 2800K warm white or 6000K cool white COB led neon rope light(10 mm W*4.5 mm H). High-density design, one led bead has 2 led chips which has a total 2*286 LEDs/M and a remarkable 800 LM/M ultra-bright output. Flicker-free for naked eye and video shooting 1 meter away. No voltage drop, enjoy consistent and radiant light. Unroll the light roll fully before lighting up to avoid overheating

【1936ft Bulk Value for Large Projects】 This 1936ft (590M) continuous bulk reel is engineered for contractors and large-scale installations. By providing an uninterrupted run of wire, it minimizes waste from short off-cuts and significantly reduces the cost per foot compared to retail lengths, making it the most cost-effective choice for commercial projects.

244 Lumens/FT Super Bright--GZBtech AC 120V COB neon rope light has the advantages of high brightness, high color temperature and high color rendering. Close to natural color, no flicker, no glare, no ultraviolet and infrared radiation, which can protect eyes and skin. This light is dimmable, you can plug it into a dimmer or hardwire it into a wall switch if you need to dim. For MATCHING DIMMERS, please scroll down to the bottom of this page to purchase.
Step 7: Wiring Inside the Cabinet
Wiring inside the cabinet requires careful attention to detail to guarantee a safe and efficient lighting setup. Begin by aligning all wires according to their polarity; connect positive (+) to positive and negative (-) to negative. Use wire connectors to secure these connections between the LED strips and the power supply, making certain each connection is firmly clamped. Maintain adequate slack in the wires, allowing for natural movement to prevent stress or disconnections. If desired, install a dimmer switch to the existing outlet, providing adjustable brightness for various tasks. After making all connections, conduct thorough testing of the lighting setup by powering on the system. Confirm all lights illuminate correctly before finalizing the installation for peak performance. Modern LED lighting technology can reduce energy consumption by up to 85% compared to traditional lighting options.
Troubleshooting Common Issues With Undercabinet LED Lighting
When troubleshooting common issues with under-cabinet LED lighting, the first step is to identify the symptoms of the problem. If lights flicker, check for loose connections disrupting power flow; ascertain secure wiring and correct polarity. Uneven lighting may signal the need for repositioning or adding strips for uniform illumination. For non-functioning LEDs, inspect both the power supply and the dimmer switch, confirming compatibility between lights and the dimmer. Unexpected dimming requires examination of the grounding of the power supply, keeping it separate from other electrical cables to minimize interference. Regularly inspect for degraded wiring, as wear can lead to performance issues that diminish lighting consistency. Address these concerns for peak functionality. Consider installing motion sensor lights to enhance energy efficiency and convenience while reducing the need for manual operation.
Enhancing Your Undercabinet LED Lighting
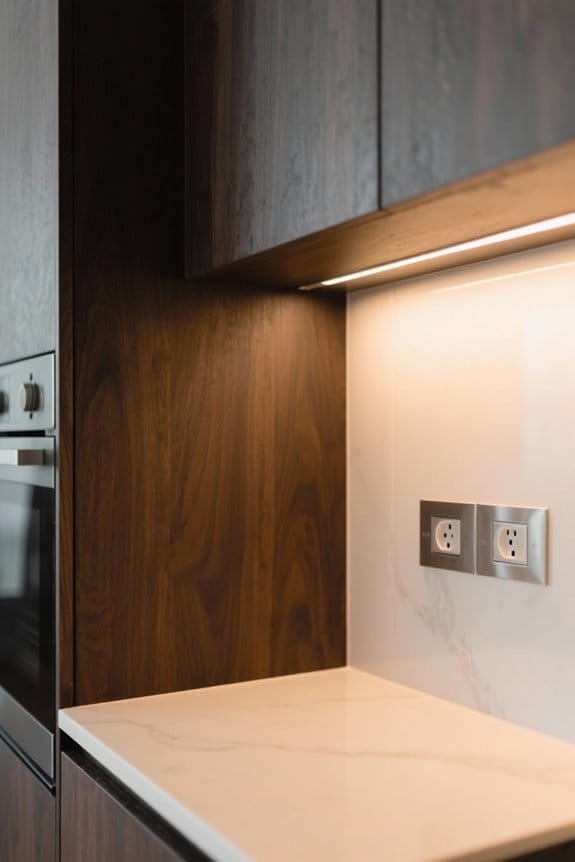
How can one truly elevate the ambiance and utility of under-cabinet LED lighting? Integrating motion sensors automates illumination, enhancing convenience and energy efficiency without manual operation. Consider utilizing color-changing LED strips for versatile lighting options that adapt to various moods. Confirm strips are mounted 1-2 inches from the cabinet face frame for ideal light distribution, minimizing shadows on surfaces. For a modern touch, connect under-cabinet lights to smart home platforms, allowing control through voice commands or smartphone applications. This integration transforms a simple DIY project into a sophisticated lighting solution. Regular maintenance, including cleaning LED strips with a soft cloth and mild detergent, extends the lifespan of the light fixtures, confirming ongoing brightness and functionality.
Frequently Asked Questions
How to Install LED Light Strips Under Cabinets?
Like stars illuminating the night sky, effective installation techniques for LED strips involve thoughtful lighting placement, choosing the right adhesive options, evaluating color temperature, incorporating dimming features, selecting suitable power sources, and following essential maintenance tips.
Do Under Cabinet LED Lights Need a Transformer?
Under cabinet LED lights require a transformer due to varying voltage requirements. Available transformer types support different installation options, enhance energy efficiency, and enable dimming capabilities, while ensuring maximum light colors and longevity for improved lifespan benefits.
What Are the Chances of LED Lights Catching Fire?
Like stars twinkling in a dark sky, LED lights pose minimal fire safety risks. Their efficient heat dissipation and adherence to electrical standards, coupled with high-quality products and proper installation precautions, considerably reduce chances of combustion.
Do You Need Special Wiring for LED Lights?
Special wiring is often necessary for LED lights, depending on fixture types and dimmer compatibility. Understanding LED wiring options, color temperature, light intensity, and power consumption differences is essential for effective installation using the right tools.